Tuesday, May 31, 2011

Versatile Blogger Award.

Alright! My friend Deanna over at Its just me sent me this...
That was very nice of her! She has an awesome blog! I think my favorite thing about her blog is all the signs she makes and she tells you how to do them! She is very good at responding to comments too. Do you ever write a comment and wonder if someone ever reads it? Well I do anyway,but Deanna takes the time to come see what you are all about. There is something to be said about that.

               Well about the award,Deanna sums it all up really well over on her blog so I am just going to copy the rules from her.
A Versatile Blogger is one who.........
1)
Provides variety in his or her posts  2) Entertains, informs, inspires and intrigues readers  3) Continues to grow as a blogger
So the rules are simple in receiving this award.
Rule 1)
Thank the Blogger who awarded you this great honor 
and make sure others can get to his or her site!
Rule 2) List 7 to 10 secrets about yourself
Rule 3)
Award this to 10 - 15 worthy bloggers!
 
Okay I can do this. 
 Thank you Deanna over at It's just me
Here are some juicy secrets
                    #1 I do not own my own socks, I wear my husbands.
                      #2 I am the worst person to see a movie with because I will analyze everything! ( Not such a secret though)
                         #3 I sing to myself more than I listen to real music.
                       #4 Thinking of my children growing up and being exposed to this world scares me to death!
                   #5 I get more excited over hand me down clothes than I do over new ones.
                    #6 I want to live in a little tree house like Winnie the pooh.
                    #7 I think I could eat homemade soup every other day.
                 #8 My husband still makes me blush.

Fun stuff I know, but enough about me. I am passing this award onto these talented ladies. Go have a look at their fun blogs.
    1) Suze from Time well spent
2)Cherie from Dragon fliez creations 
3) Juli from A hen and her chicks
4)Trina from A love to Create
5)Suzette and sarah from Chameleon girls
6)Rachel from With love by Rach
7) Krista from While he was napping
8)April from Cup of delight
9) Erika from Erika with a K
and
10) Tammy from Type A

 I hope everyone has a jolly day and thank you for stopping by!
Connie

Monday, May 30, 2011

Fushcia gone fantastico!

Hello my friends,
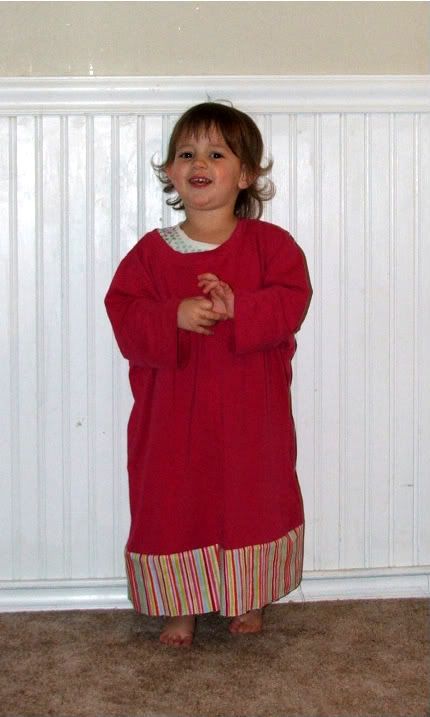
 I Don't know about you, but I get these annoying little holes in the front of my shirts all the time!  I hate them,but what can I do right?So I had a plan to cover them up. I have been seeing a-lot of blogs where women redo their clothes. I thought I would try it out. It didn't work so well for me.
I look like a funky cupcake. So I tried it on my little munchkin and it had potential.
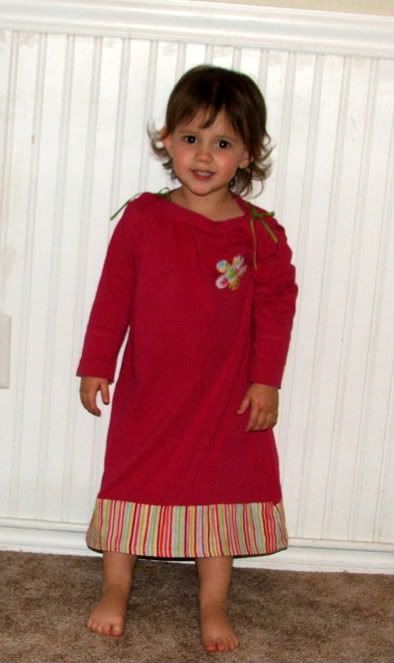
After taking in the sides a bit, gathering the sleeves and adding some froo froos,she had a new night gown!

The sleeve looks all scrunched in this picture because she would not stop jumping around.


This was very fun! If you have any old clothes you should give it a go!

Saturday, May 28, 2011

Regel red! love it!

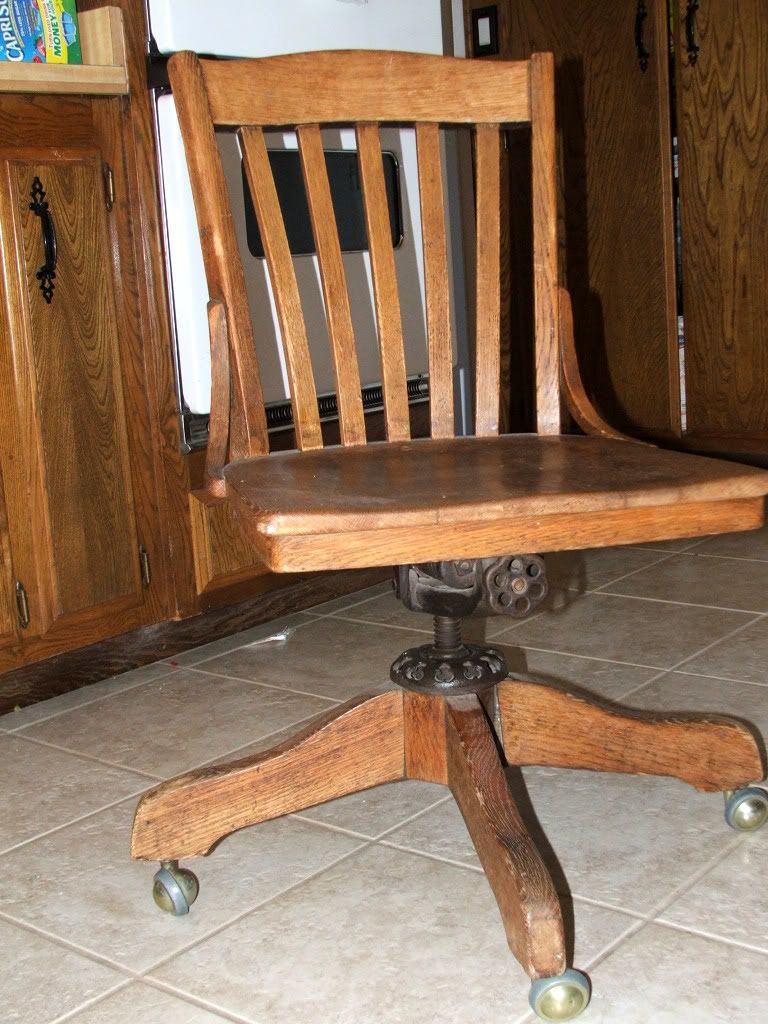
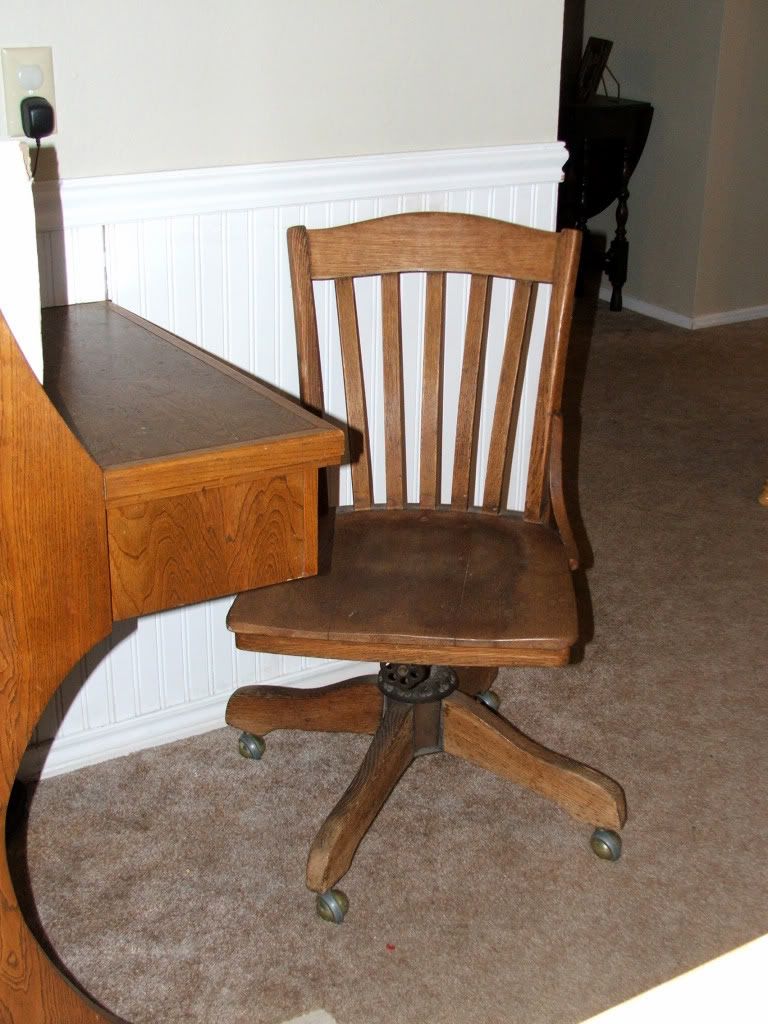
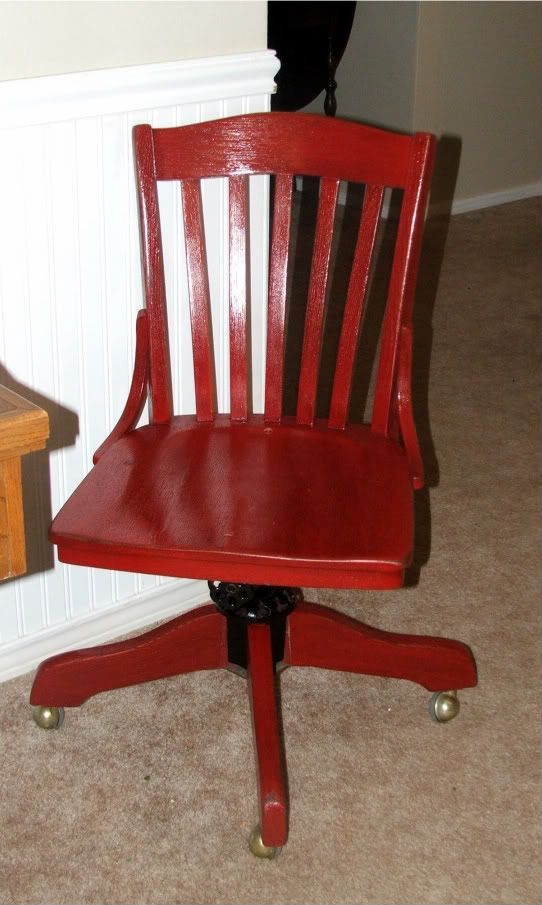
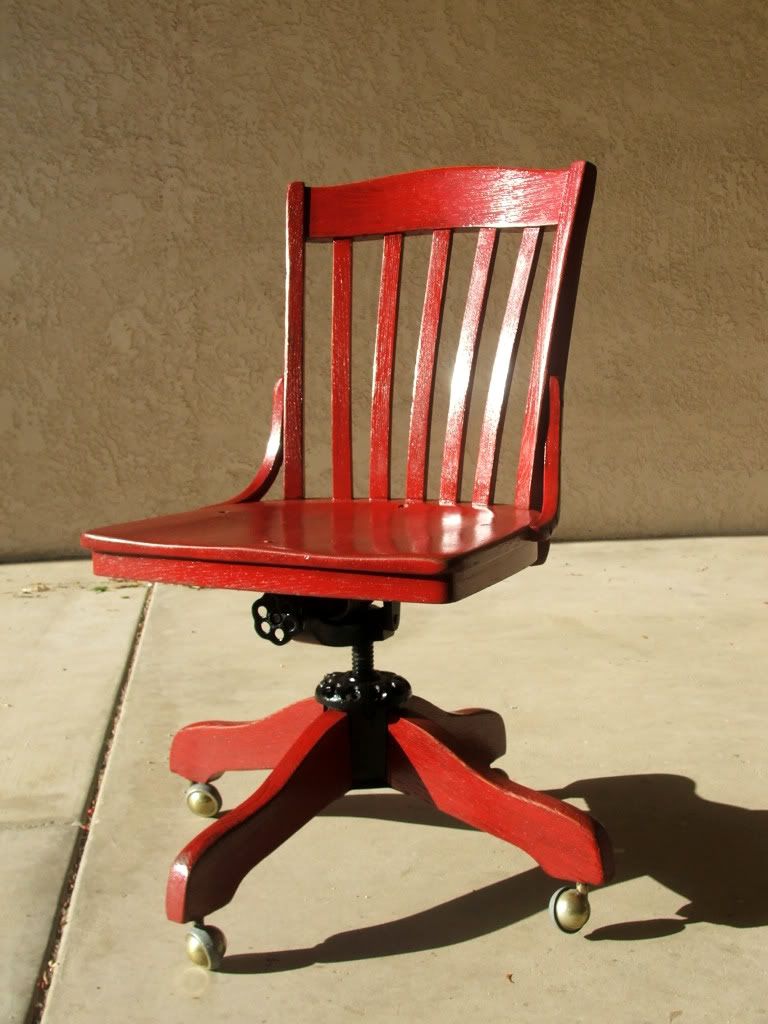
Three years ago I bought this chair intending to paint it,but there it stayed waiting and festering... Until I had had it!
  Spray paint time!
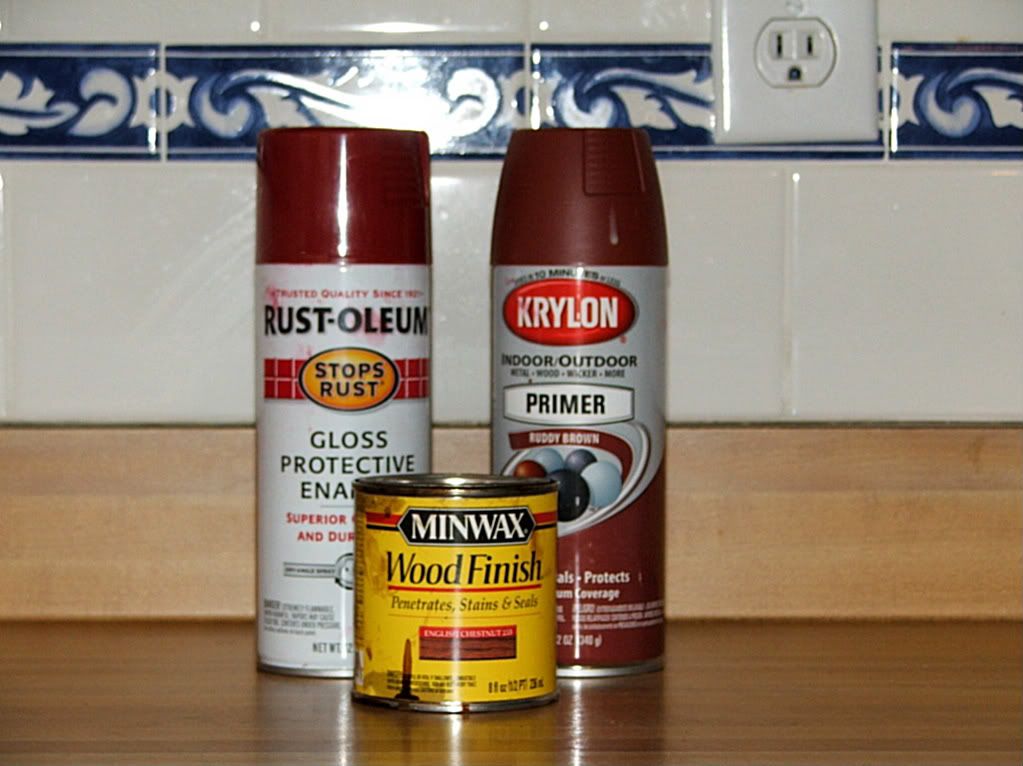
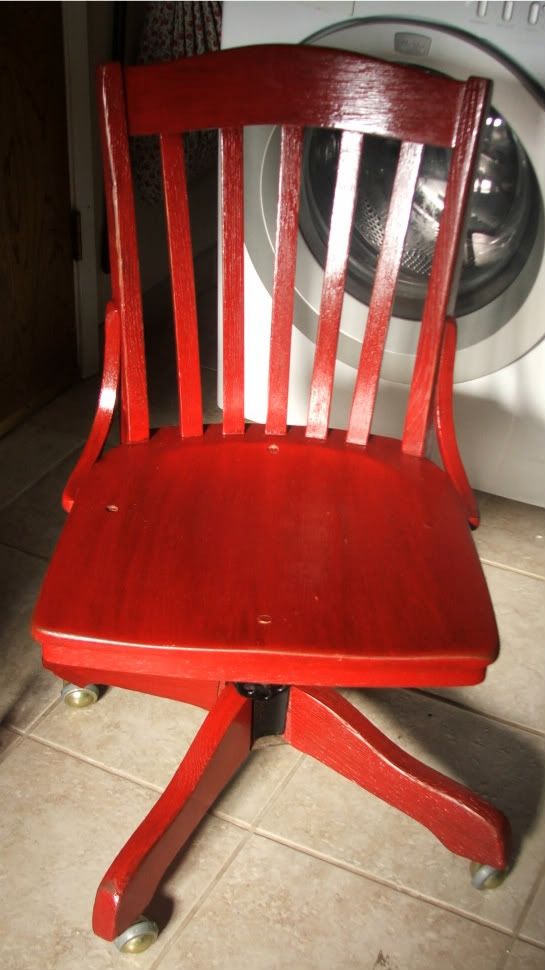
I just went for it! I had been debating over what color I wanted it to be for too long. I had some Regal Red Spray paint so that was the decision.

I took all these pictures on what I did to it and how I took it apart,but then my energy kind of fizzled and now these are the only pictures. I did distress around the edges ,but my camera is not showing it sorry. Anyway I am happy. I just hope that one day my house will look like it has a certain theme to it besides randomness.
 

Friday, May 20, 2011

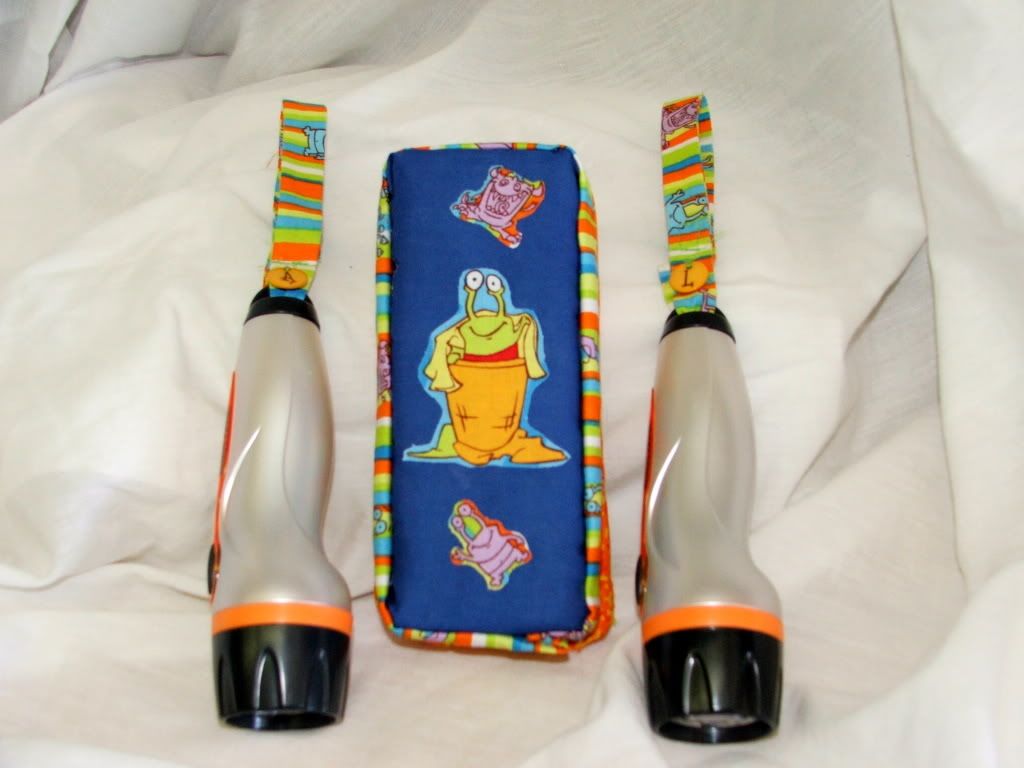
The aliens are invading!

Hello again,
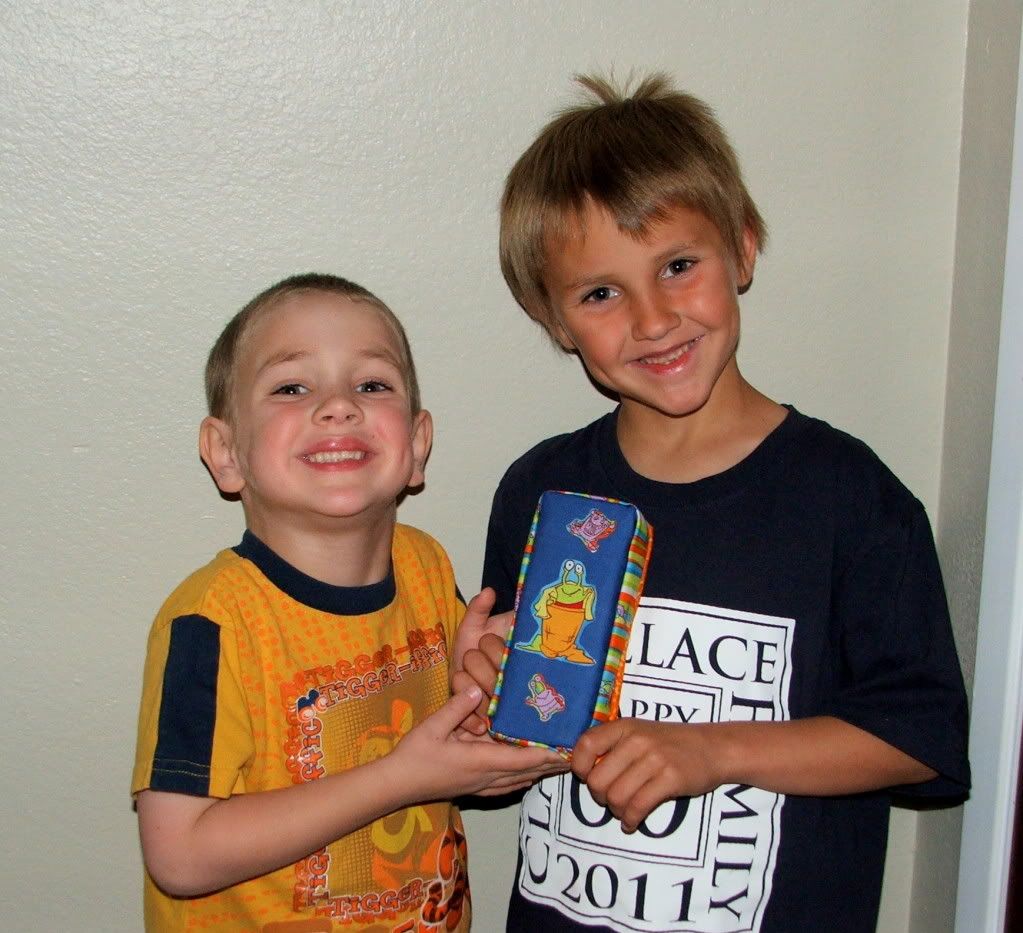
   I am posting some little projects that I made using some of the materials I got from the scrap buster swap. My boys helped me make a door stop.
Today I made some little handles for their flash lights with the remaining fabric.
Fun stuff! You can find the scrap party here.Scrap buster challenge

Thursday, May 19, 2011

How to make a " Rag Quilt"

Hello my friends,
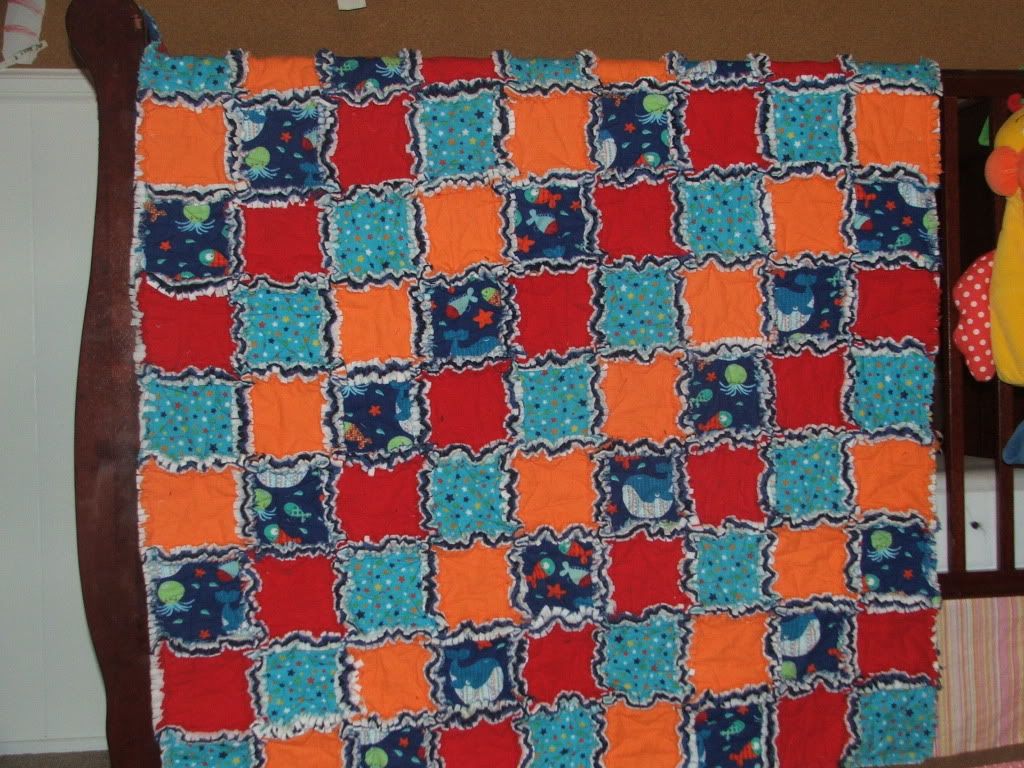
 Today I will be showing you how to make a rag quilt. I made this about 2 months ago so I am not sure how detailed I will get. I have made about three rag quilts and I love them! The best thing about these are that they are not very complicated,but they do take some time and energy. I learned how to do this from "You Tube".

This is a flannel blanket,but you could also use cotton or denim etc. If you use cotton you will need to buy flannel or fleece for the middle sections of the blanket.

Step #1 
               Today we will be making a toddler sized blanket. 
I bought about 1/2 yard of each printed  flannel and another 1/2 yard each of the blue and orange flannel. For the back I bought 1 1/2 yards of each dark blue and light blue flannel. Optional: For the middle I got about 2 1/2 to 3 yards fleece. You do not need to have a middle section if you are using flannel,but if you want a middle you can use the fleece or more flannel. 


Step #2 
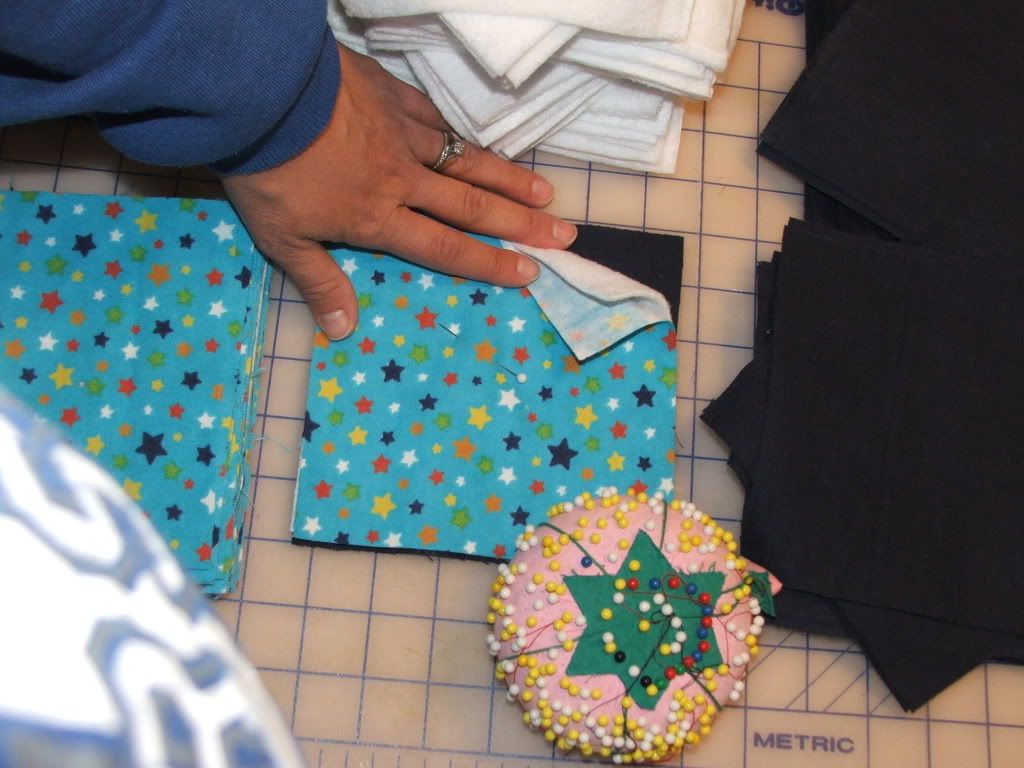
      Cut your squares to 6"x6" , here is how I cut mine.
Step #3
   Once all your squares are cut, lay out the fabrics that will be your quilt top on the floor. You will do this so that you can map out the pattern just right.
   I made mine 9 squares across and 12 squares down.This is an example of how I started to lay it out and then I went in and filled in the rest of the pattern just rotating the squares. (Take a picture of your pattern so you don't forget.)
Step #4
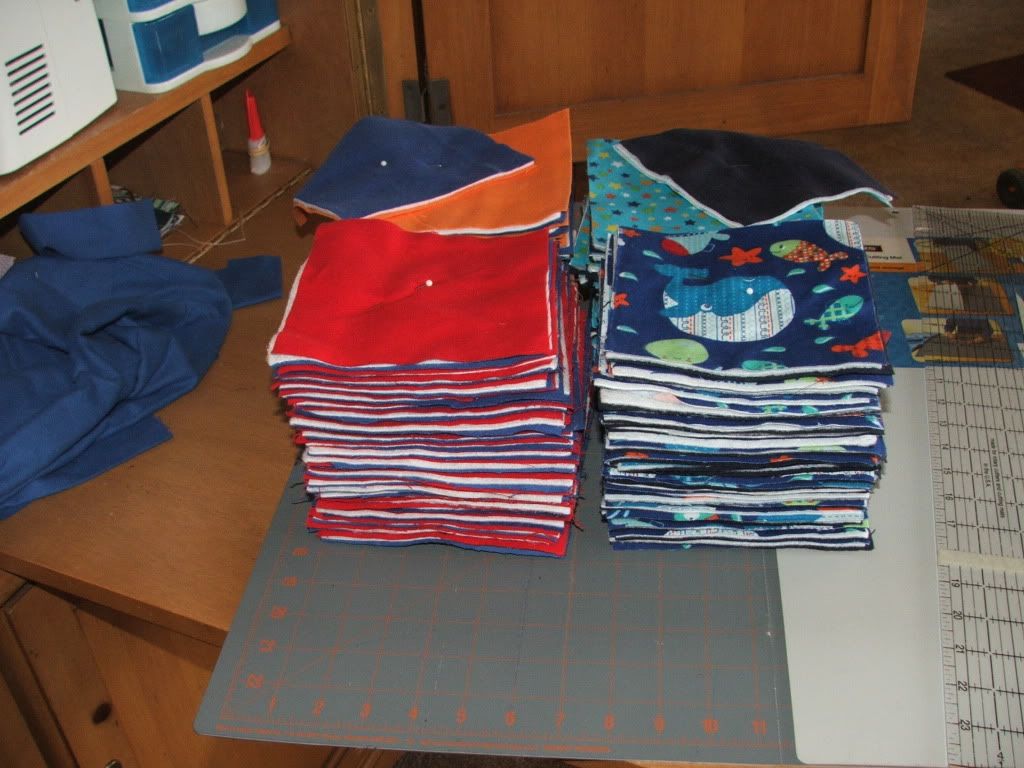
         Now it is time to layer your squares.
 I used my dark blue on the back of all my printed fabrics and then I used light blue on the back of all my solid fabrics. I did this so that when the quilt was finished the back would have a nice consistent pattern, like this.  (If you are adding fleece or flannel to the middle,now is the time to do it)  
 Step #5
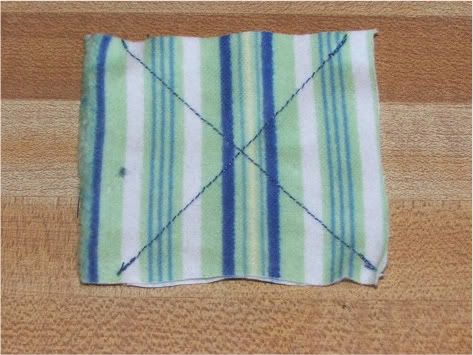
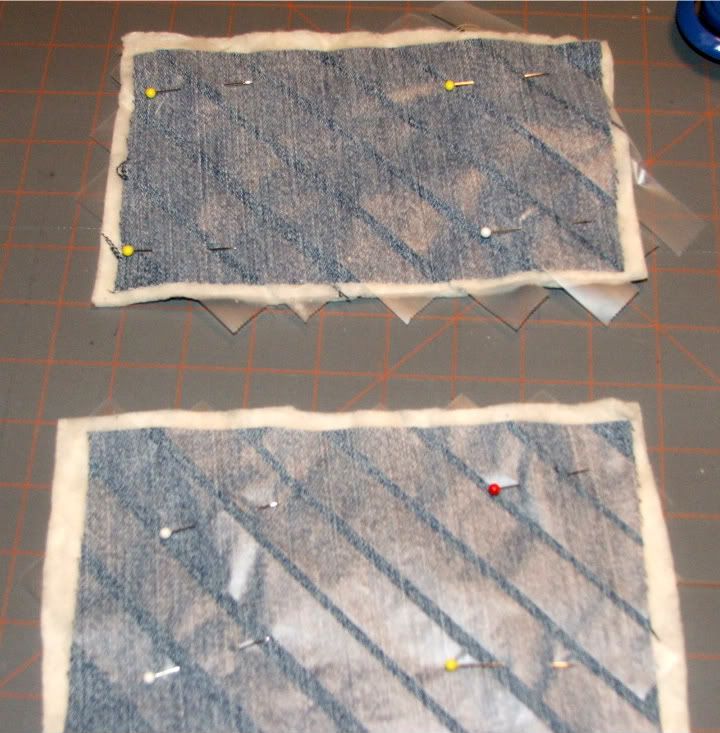
   Sew each block to keep the squares together. You can sew whatever design you want in the middle. The fancier you get, the more time consuming it is,but you can do it.
You will usually see rag quilts with big a x through the middle like this.
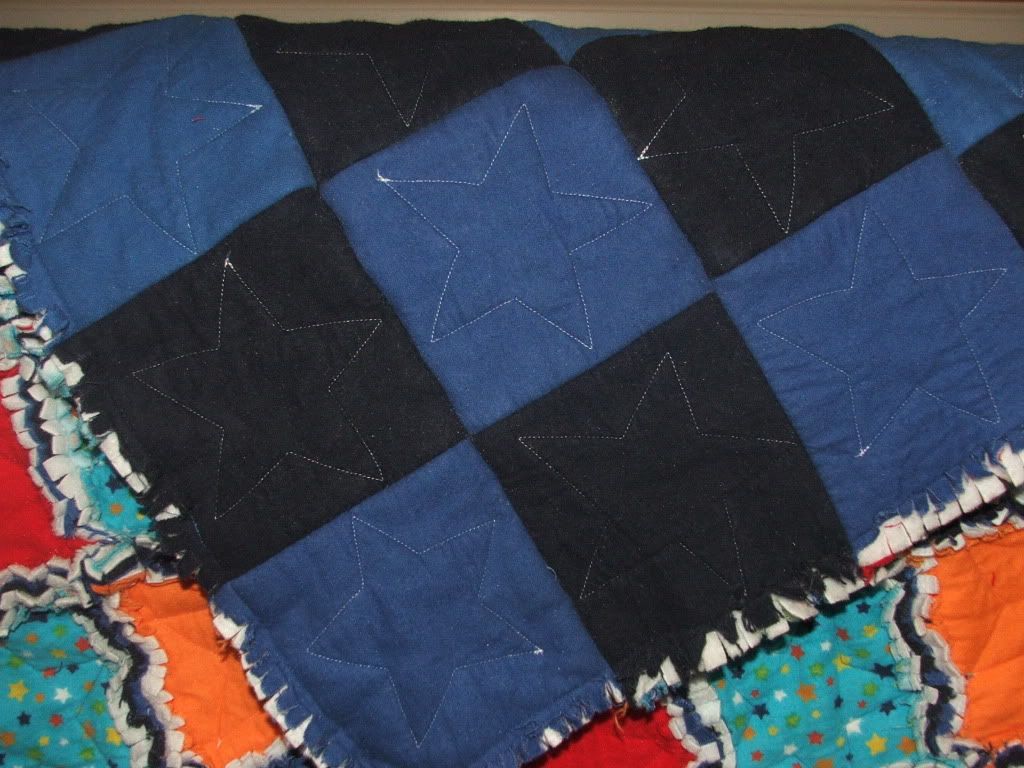
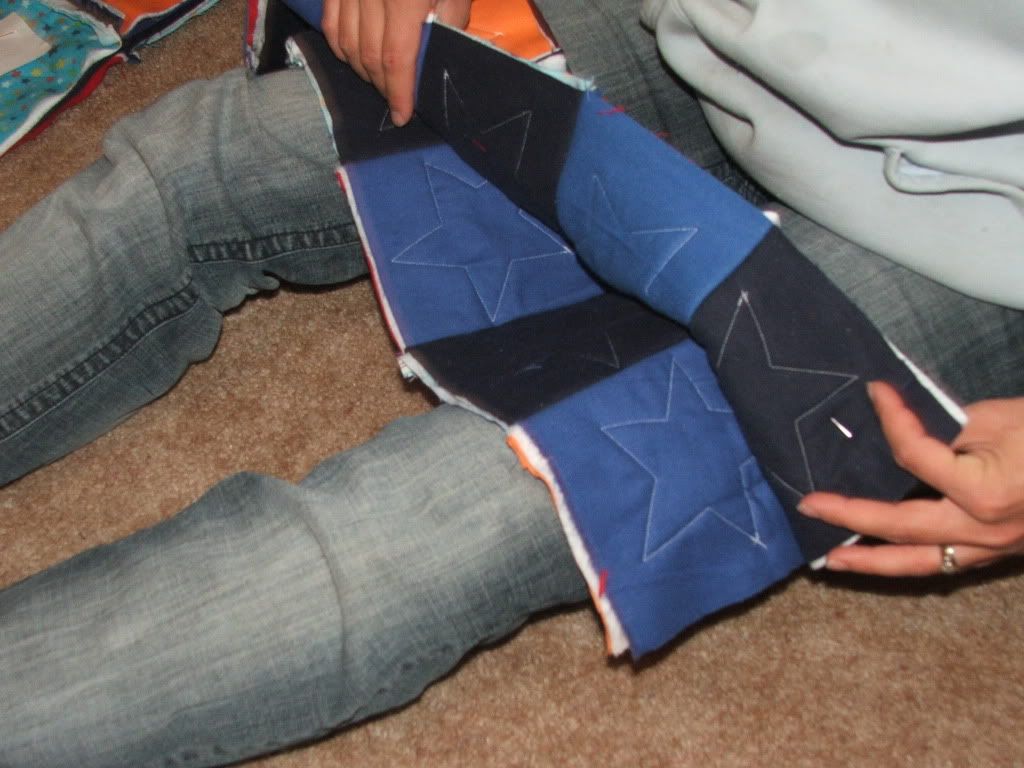
  I have done this with a couple of quilts,but I thought this time it would be fun to change it up a bit. I did stars and they are super easy, how did I do it,like this.
 I traced the cookie cutter with a chalk pencil and then strait stitched around the design with my sewing machine.
  Step #6
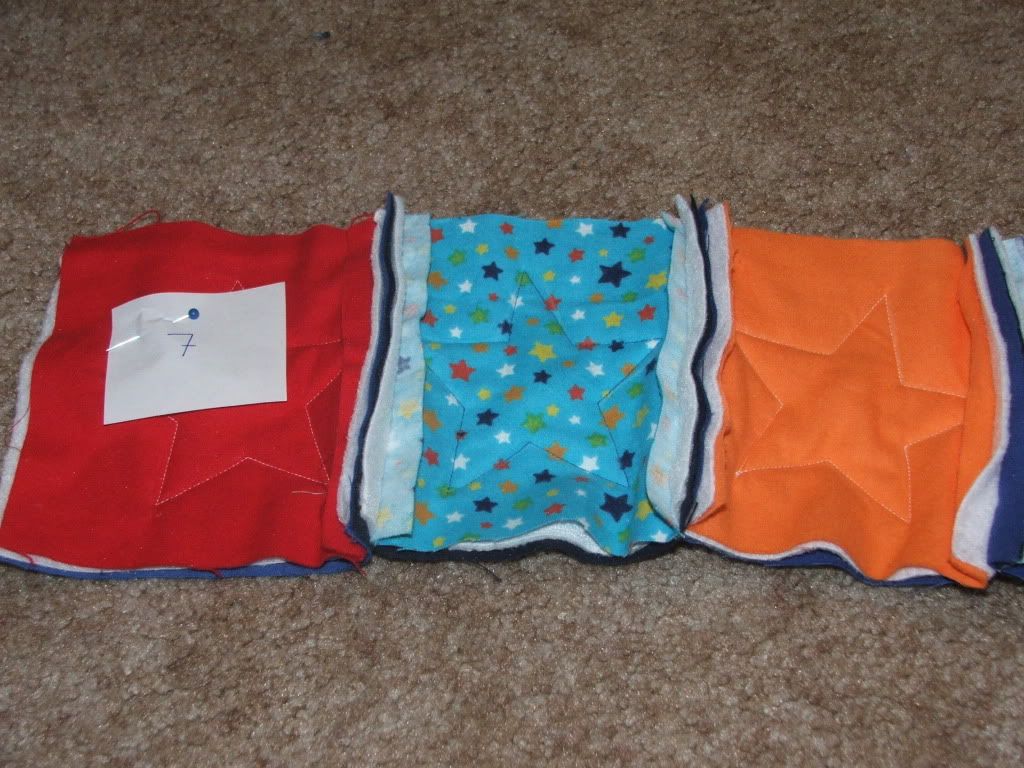
        Now that you have all your squares sewn,  you will pin and sew the squares to each other by following the pattern you made before. Sew about a 1" seem so that there is room to cut the fringes. I also pinned a paper on the first left box of each row with a number on it so I could keep track of  the order it went in.
 Sew one row at a time, until you have all 12 rows.

 Step #7 
Now you will attach the rows together.
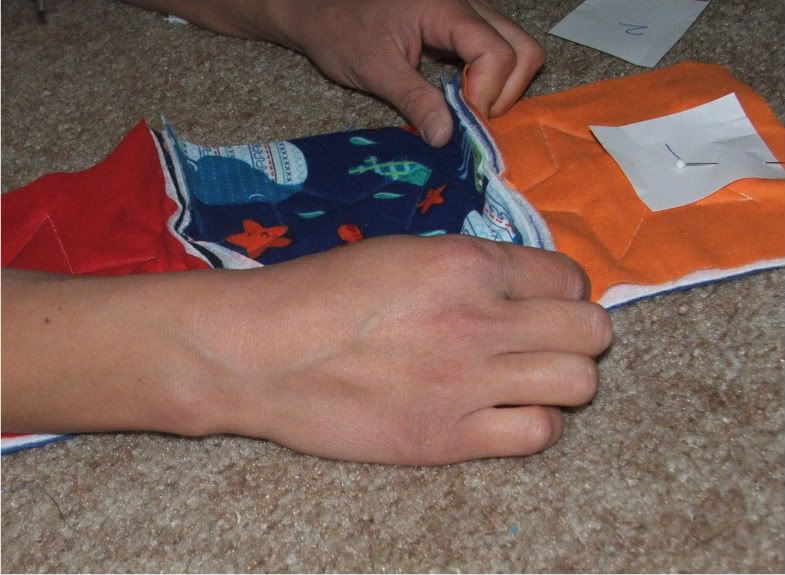
 Here is how I match up the lines.
 

Your rows should match up like this before you sew them together.

Step #8
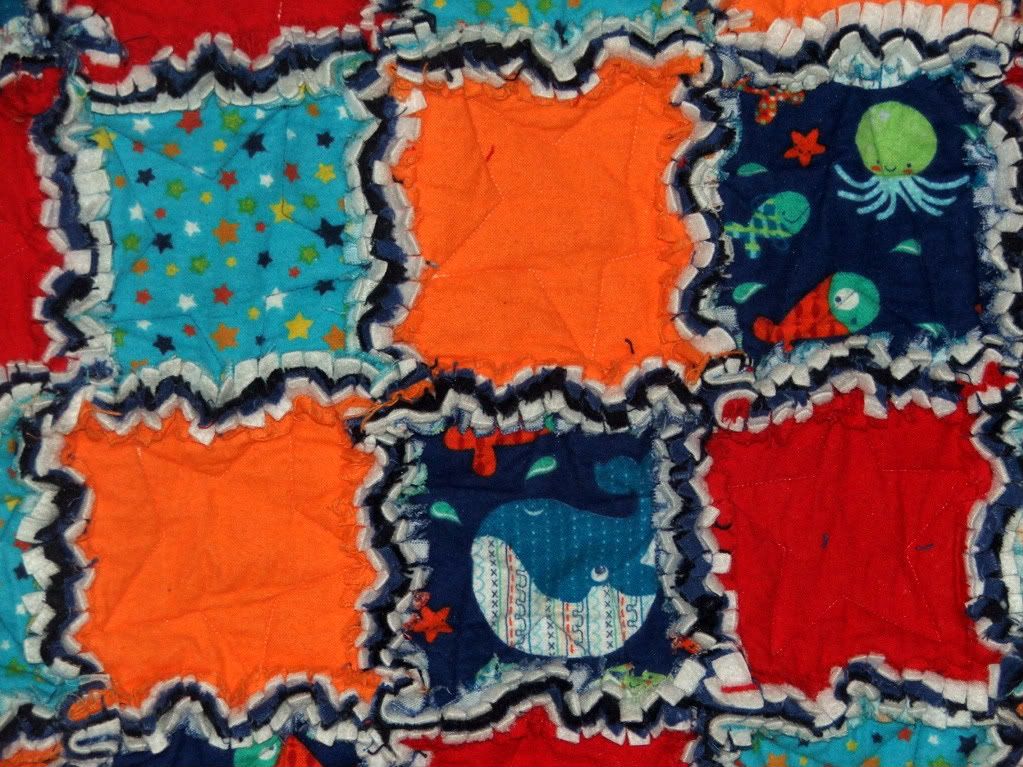
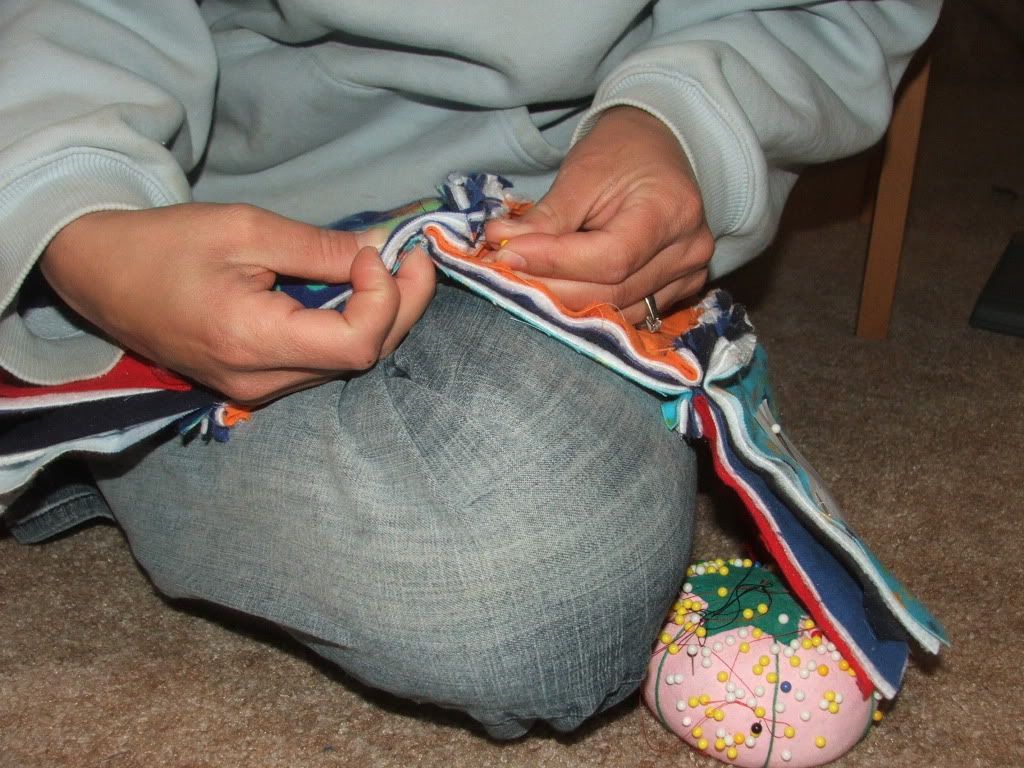
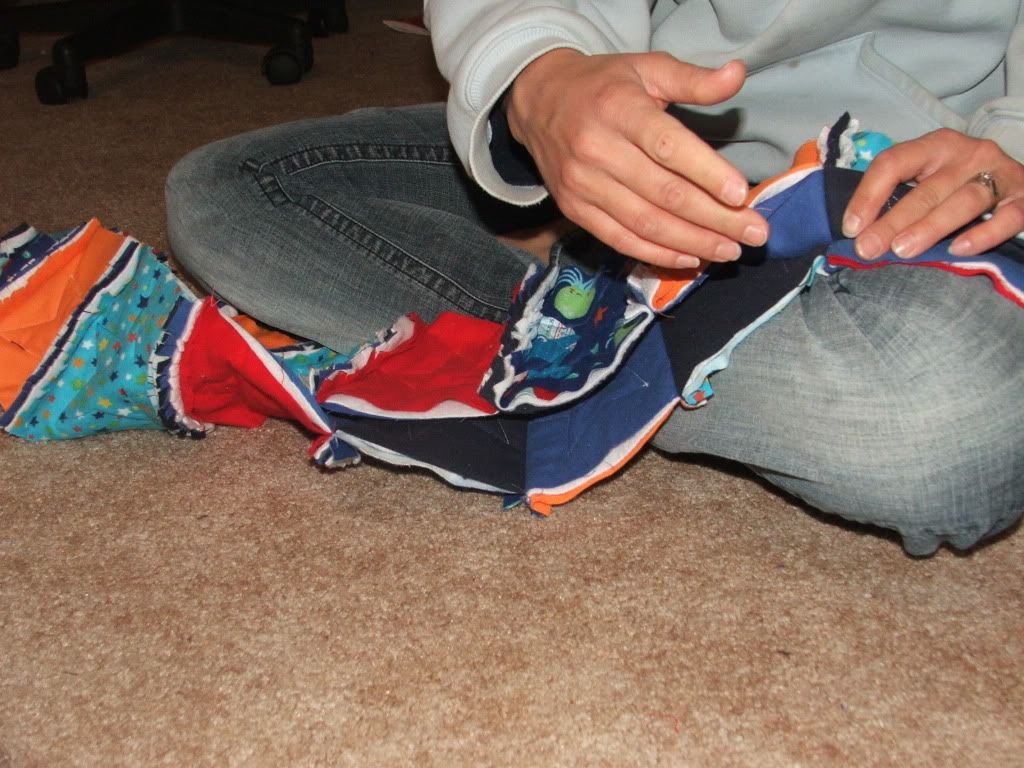
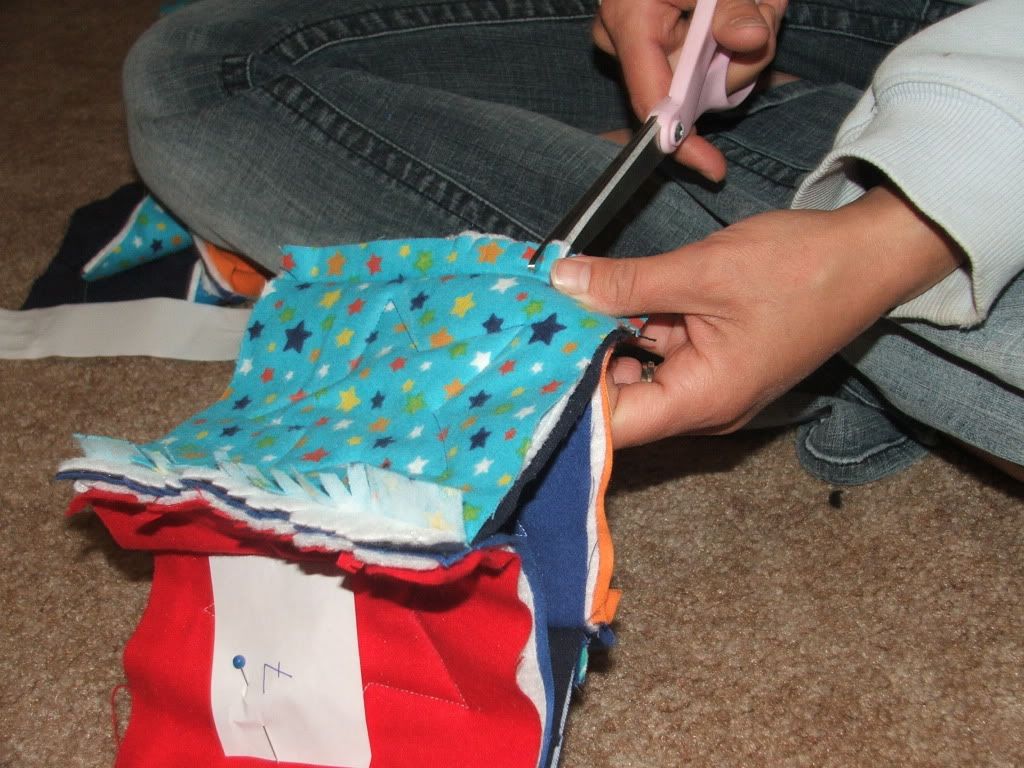
 After you have sewn all 12 rows together you will need to sew a 1" seam around the entire blanket. Then you will begin cutting the fringe
 Make sure not to cut through your stitch. (This is just an example of how you will cut) The more cuts you make, the more fringe you will get.

Step# 9 
     Now that you have sewn your entire blanket, machine wash it with an extra spin cycle and then machine dry. You are done! to see my other rag quilts go What to do with old jeans
  If you have any scraps left you can use them to make a burp cloth !


  * Do you have a rag quilt that you would like to share with everyone? I will gladly feature you.

I am going to be linking in today to 
Get your brag on 
Naptime Crafters 

Wednesday, May 18, 2011

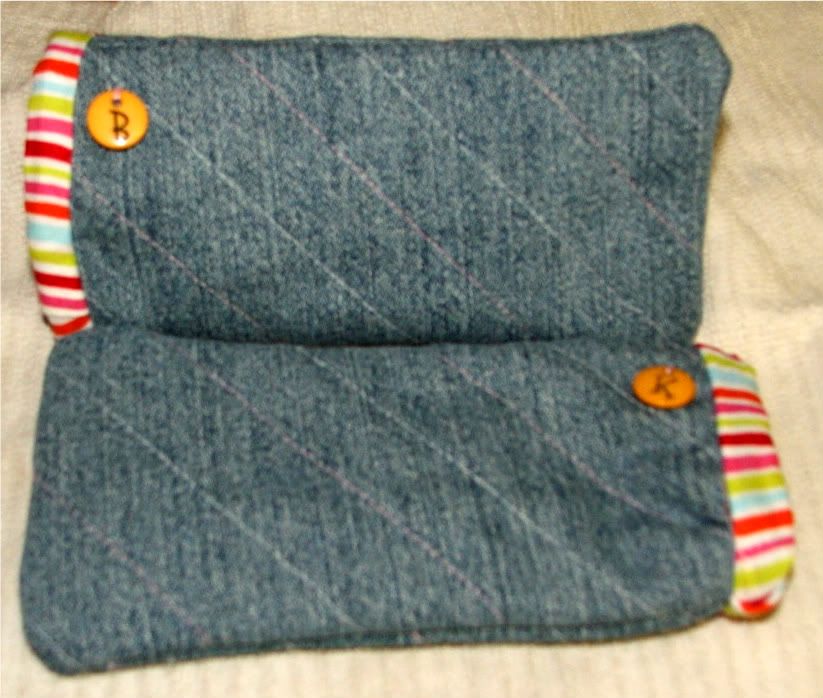
Sunglasses holder

Hello friends,
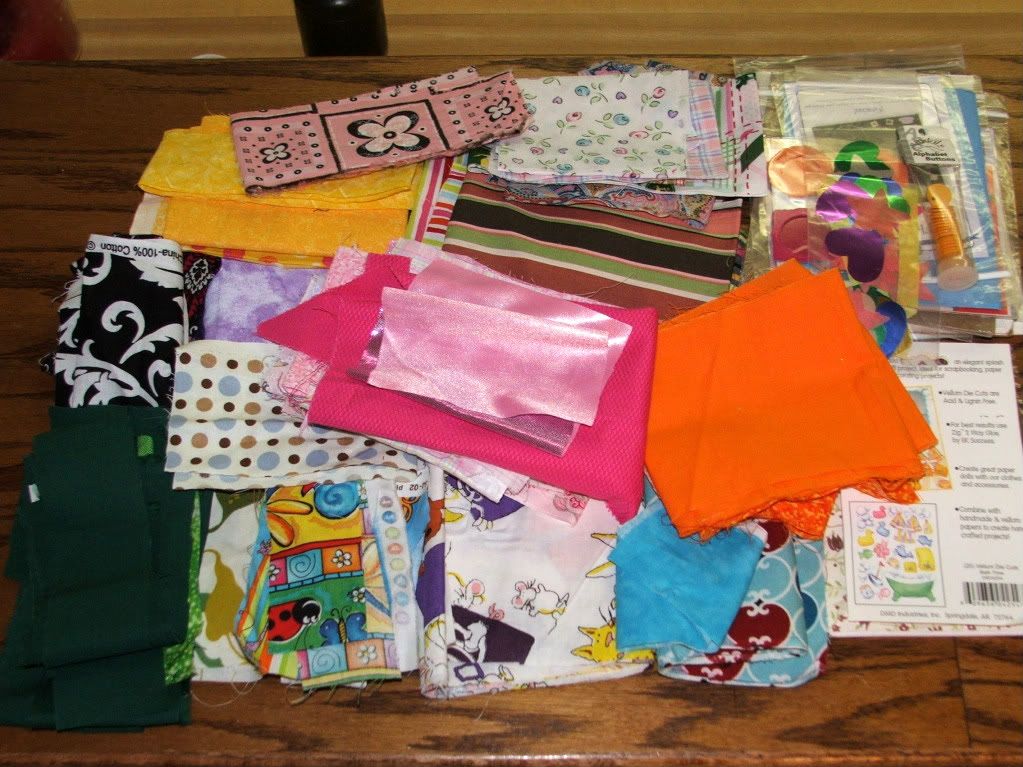
   As some of you know I am participating in a stash swap with some of my fellow blogger friends. I was sent a gallon bag full of craft goodies from Chemeleon girls. Now I need to make some creative crafts with it before May 31st.
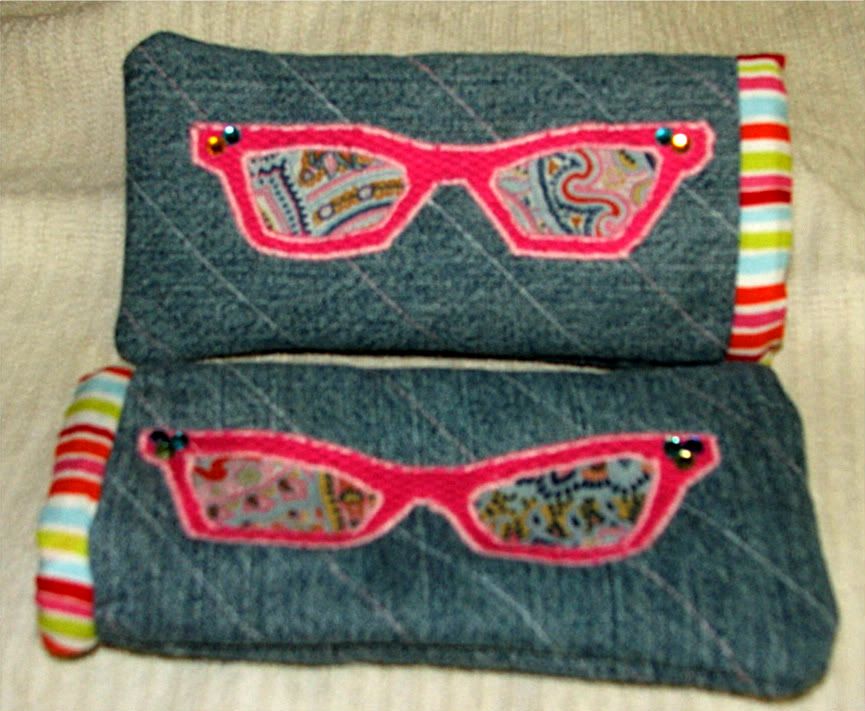
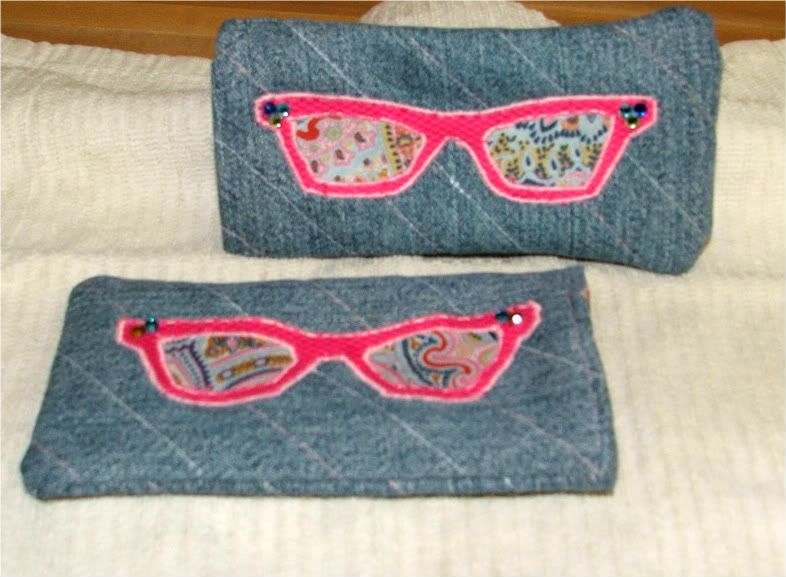
Ready to see to see what I made!

I got this idea from the book Sew Darn Cute. I have used this book for other sewing crafts in the past,you can see them here, Rainbow boas for Easter , Busy bee towels. The only supplies that were not from my swap bag was the denim,jewels and the thread.

Today I am going to show you how to make one of these,but I can not share the pattern with you because I don't want to copyright it. I also apologize for my blurry photos. My camera is being really difficult to work with right now.
              Materials you will need.
              
             2 pieces of linen (or denim like I used).
              cut to 7 3/4" wide and 4 1/2" long each.

             2 pieces cotton fabric for lining cut to 7 3/4 " x 4 1/2"

              light batting

            Steam a seam or some other fabric adhesive for applying appliques.
     
             2 Different color threads.
         
              Scotch tape
            Glue on Jewels (optional) 


#1 After you have cut your denim or linen place it on your batting. Cut the batting a little larger then the denim. Use youir scotch tape to tape diagonally across your fabric. Then pin your batting and denim together. You will then stitch along the lines using rotating thread.
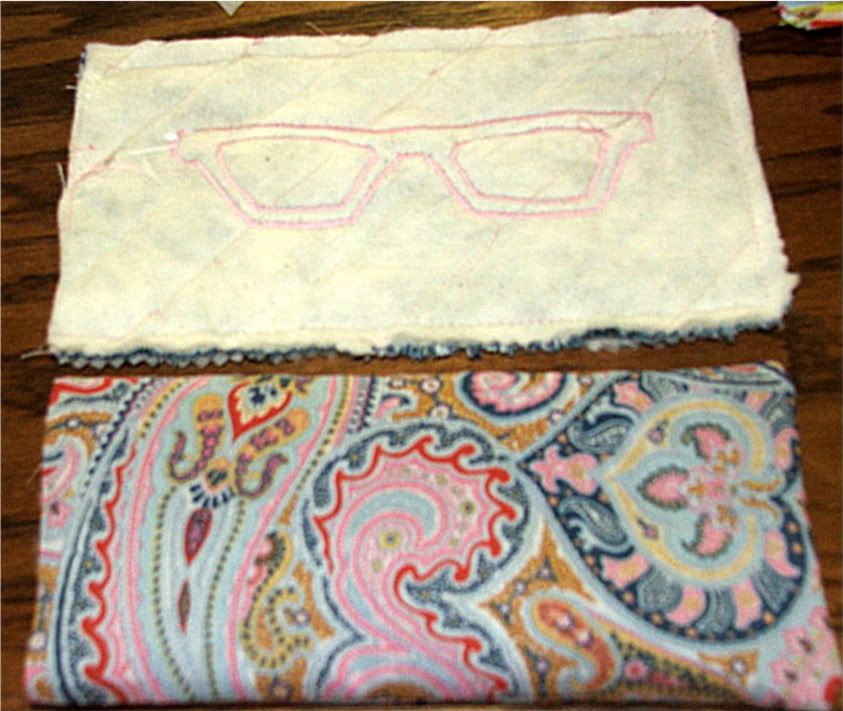
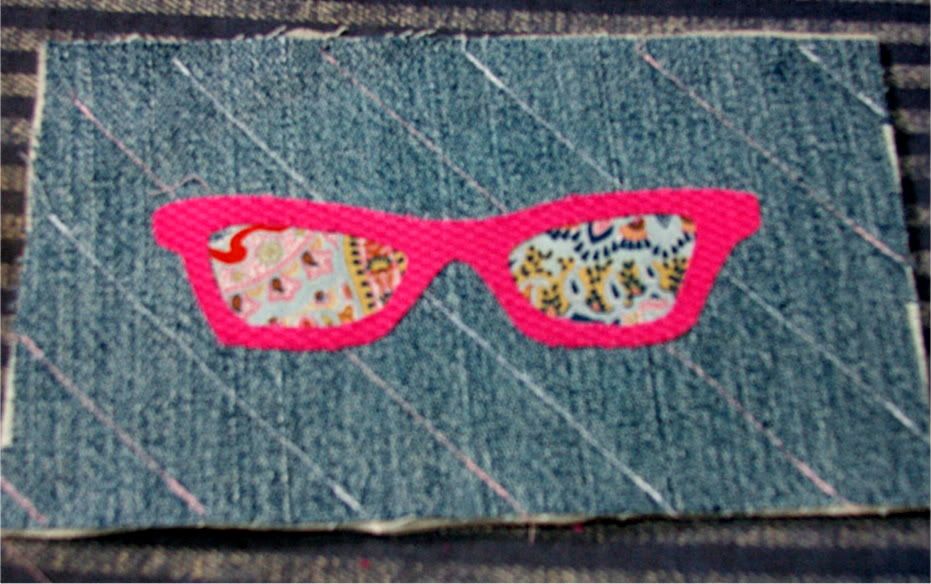
#2 After you have done this you will apply your appique to the top piece using Steam a seam .
Once your applique is on then you will satin stitch or straight stitch around it . Remember to cut off excess batting around the edges.

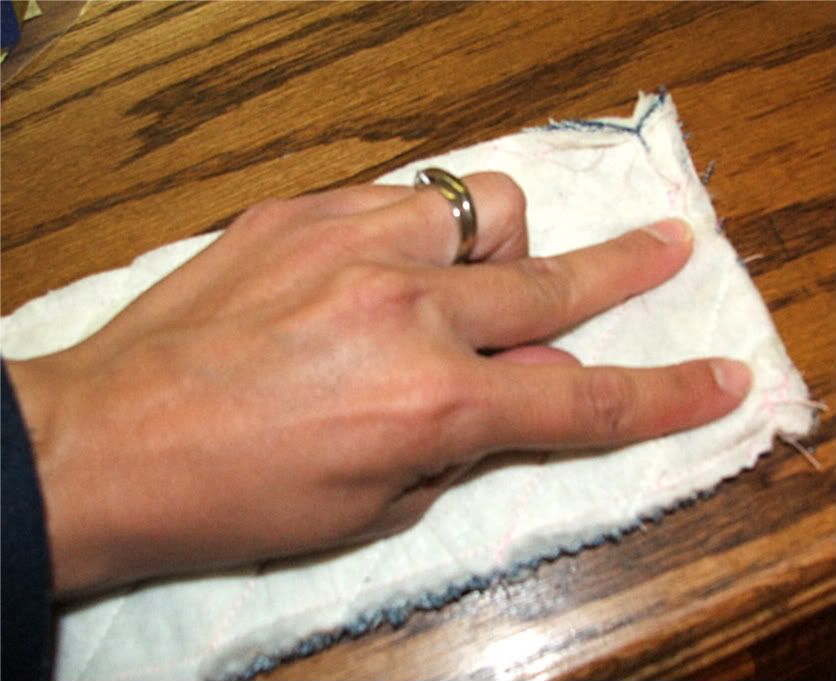
#3 Sew denim together with right sides touching. Sew around three sides and leave one short side open.
#4 Sew your lining pieces together with right sides touching, leave one side open. Then turn the lining pieces right side out like shown above.
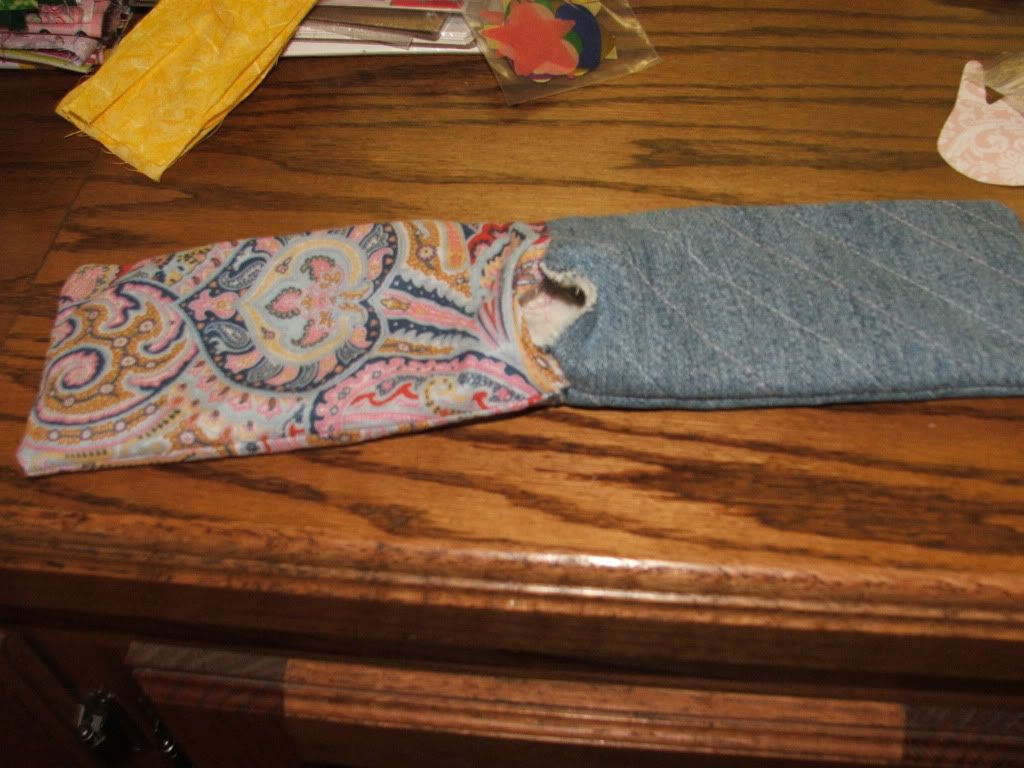
#5 Place lining piece inside denim piece. Sew all around the top but leave an opening so that you can turn the fabric out. Make sure that your right sides of your lining and your right sides of your denim are touching before you sew.
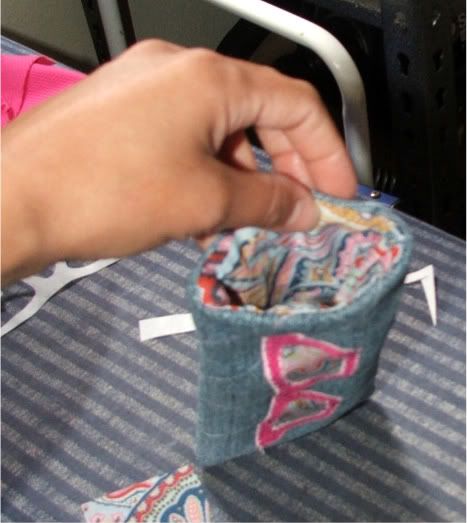
#6 Turn your pieces inside out. It should look like the picture above.


#7 Now push the lining back into the denim piece and sew all around the top .

#8 Glue some jewels to the sides of your glasses and your done. If you want something a little fancier you can sew ribbon or bias tape to the edges like I did for mine in the first picture.
Thank you Chameleon girls for your fun fabrics
Come visit our swap party at Scrap buster challenge

Monday, May 16, 2011

Oragnizing under $7.00

Hello friends,
    I have some fun, cheap ways to organize your craft space today. Keep in mind as you are viewing this that I am not using fancy organizing boxes and fru fru tags. I am just doing the basic cheapest way I can think of.

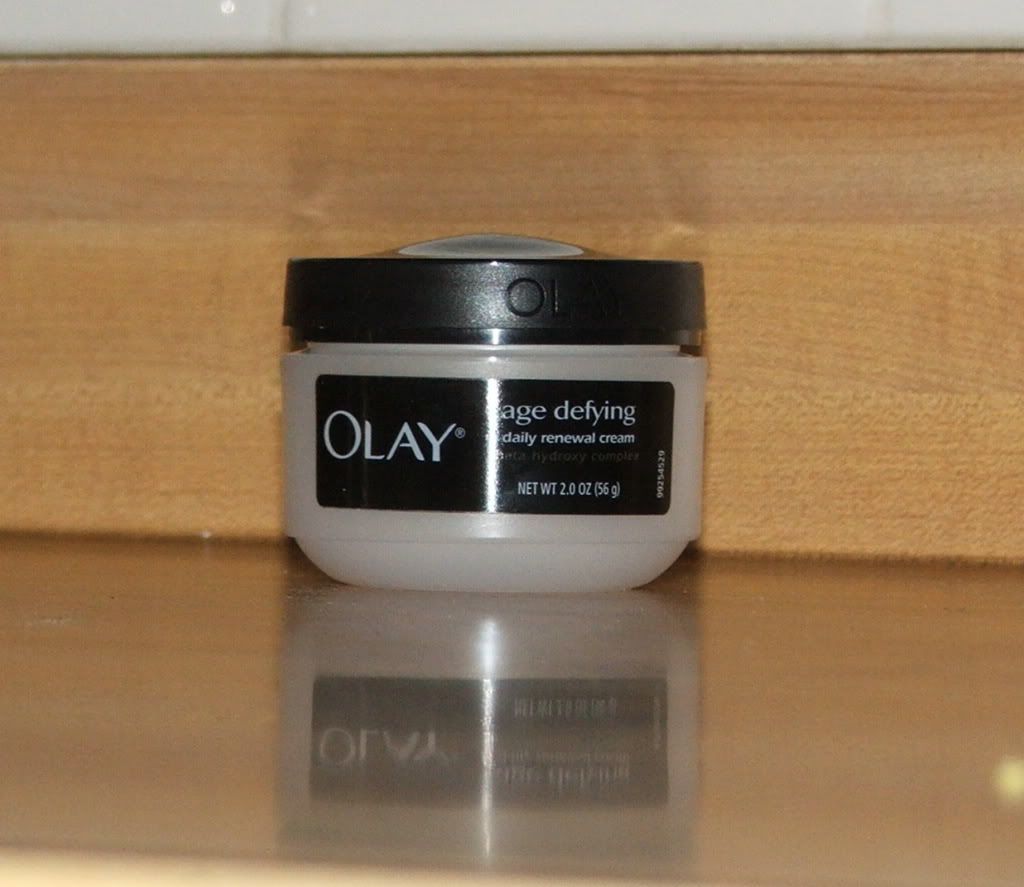
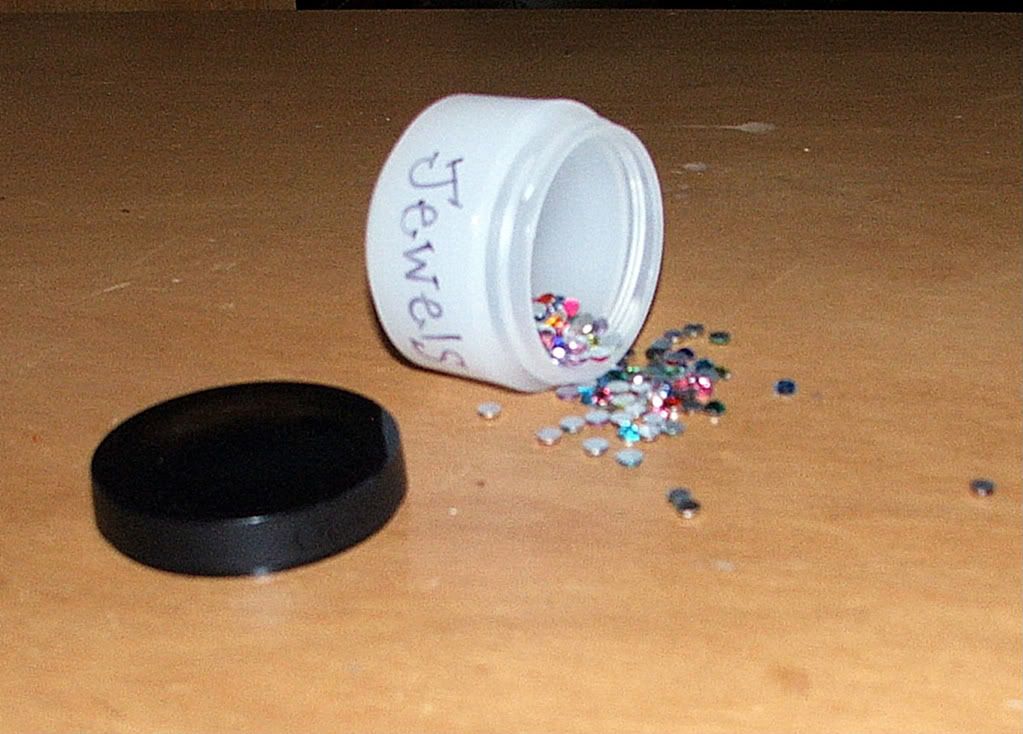
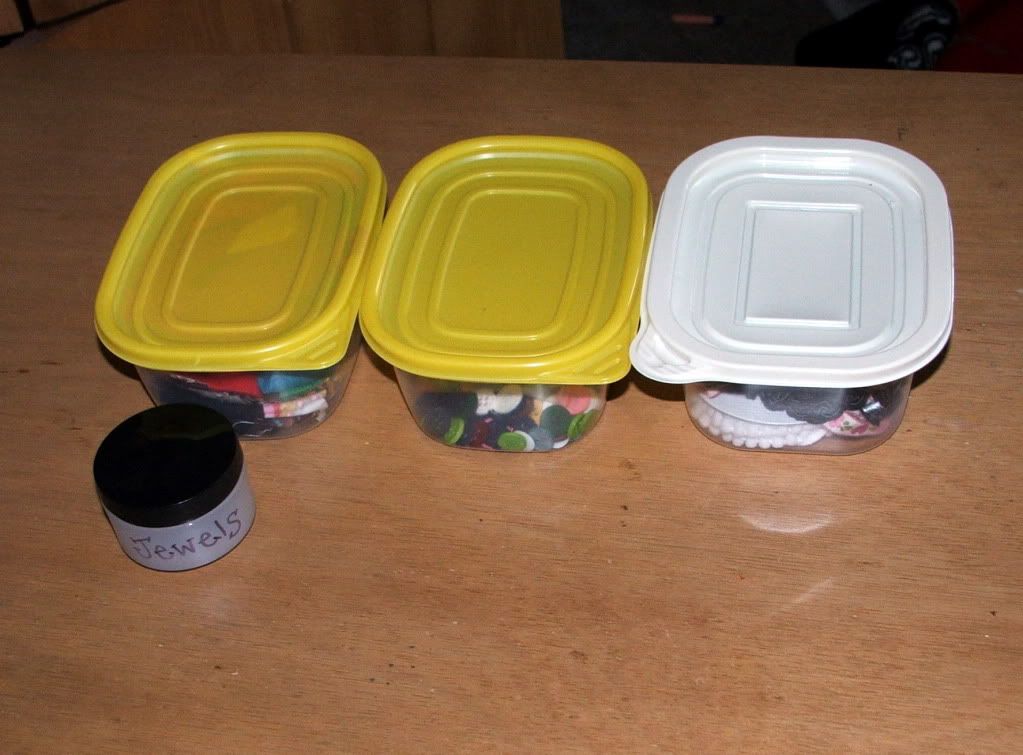
                Lets start off with our recycled "Oil of Olay" container. These smell really good and they are perfect for little items like beads and jewels,etc.
Okay now,one of my favorite things to use lately are my old sandwich meat containers.
I use these for buttons,rick rack and bias tape etc.
 How about all those rubber bands you took off your diaper cake? What do you do with those
well here is what I do all the time.
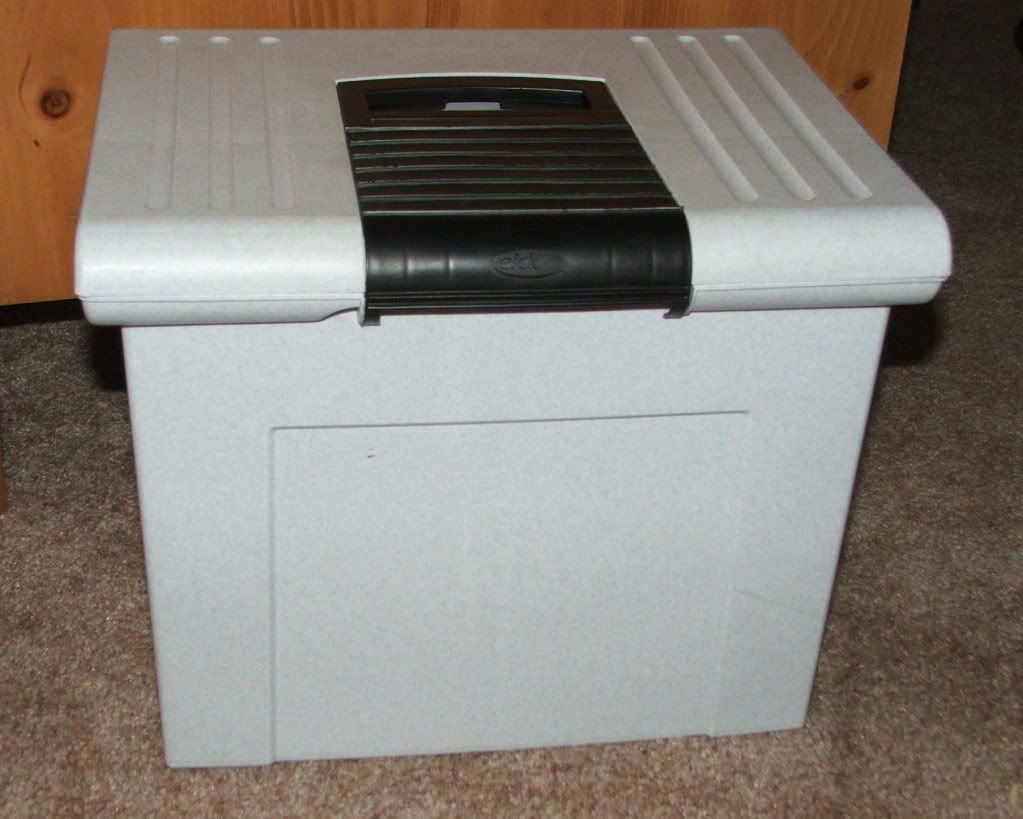
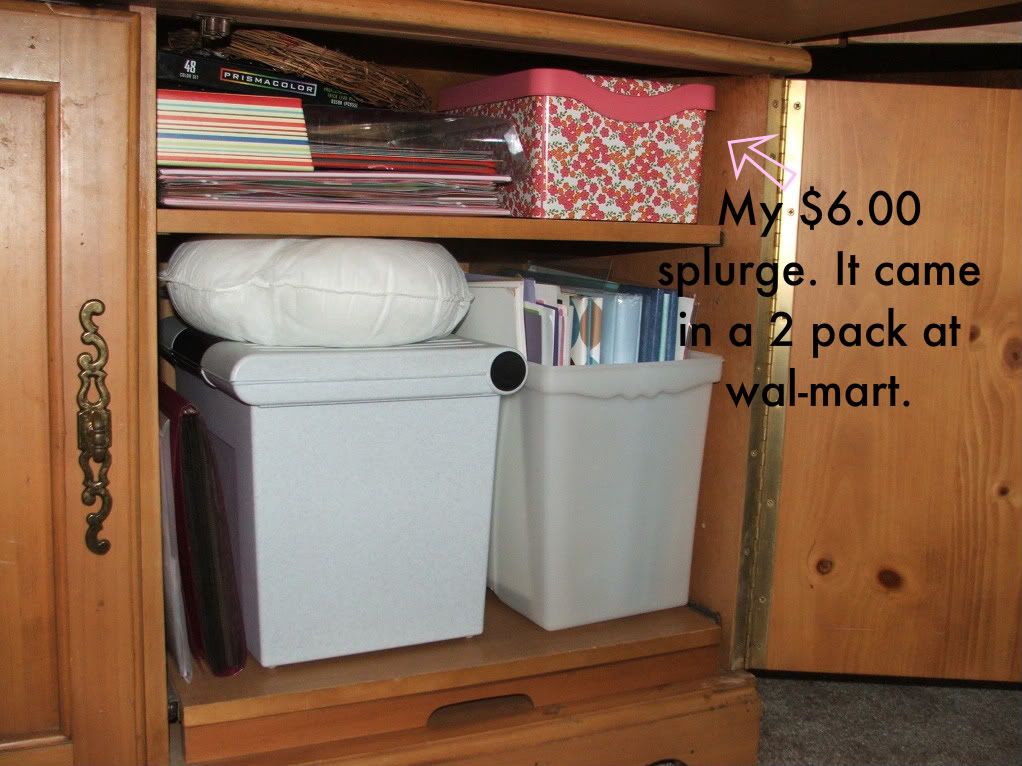
Do you have an old file organizer that has a broken lid? Well I did and I didn't want to throw it away just yet so I put my unfinished scrapbooks in it.
I had a couple of the little organizers because my husband doesn't believe in a file cabinet.Well I found something for the files and then I used the old organizers for my patterns, magazine clipping and others inspirational craft ideas.

Now for my spendy purchase.


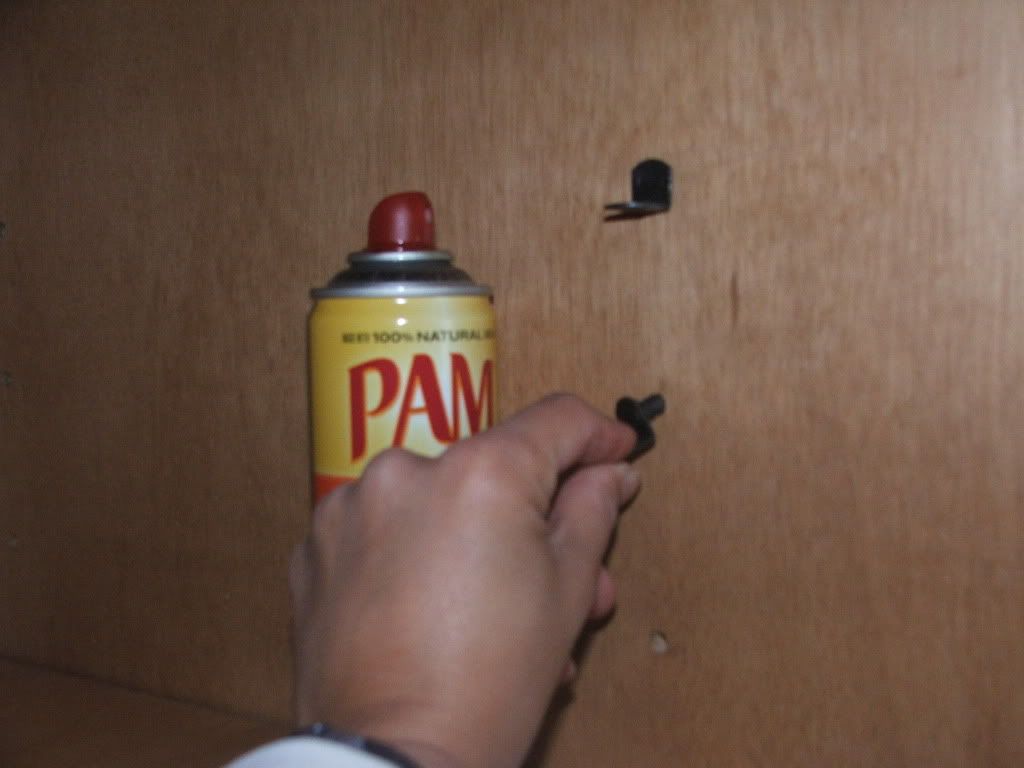
I had to move some shelves around while I was organizing and the little self holders were being little buggers. I couldn't get them in very well so I sprayed them with Pam and Viola,they slid right in.
Now this next one is not craft related,but I wanted to share it anyway. Do you have a problem with your butter falling or getting scattered around your fridge. This might help. (Don't worry I made sure to scrub it out.
So this stuff might look a little funny,but when you are pressed for time and cash they are great. Thanks for visiting.


I am going to be partying at 
Come join us!