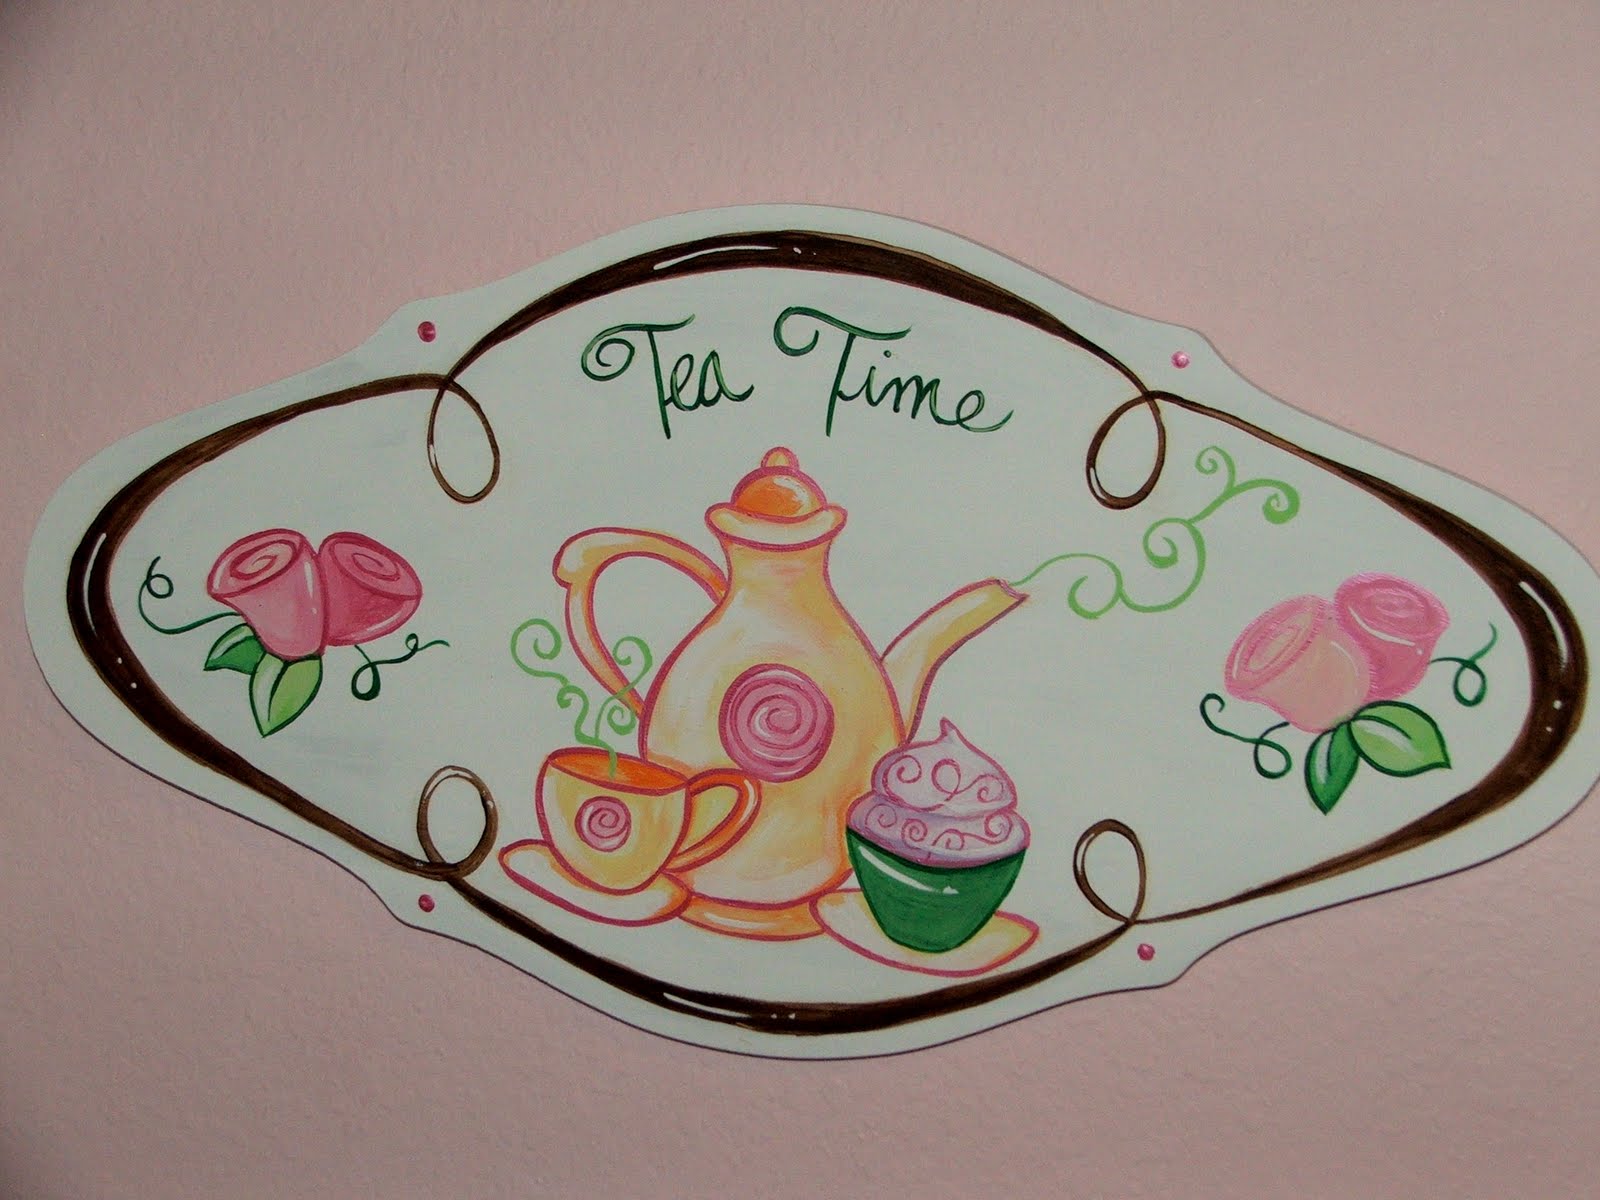
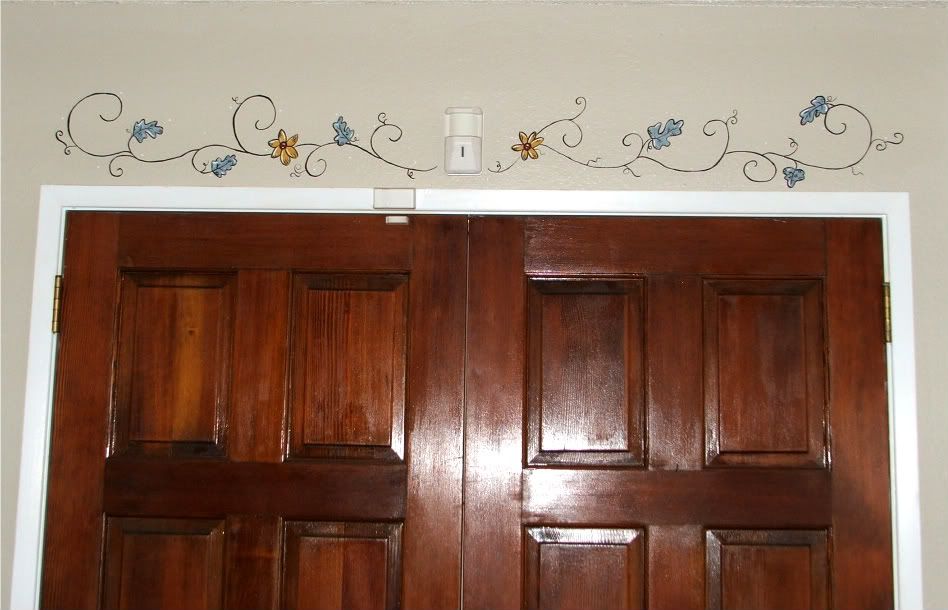
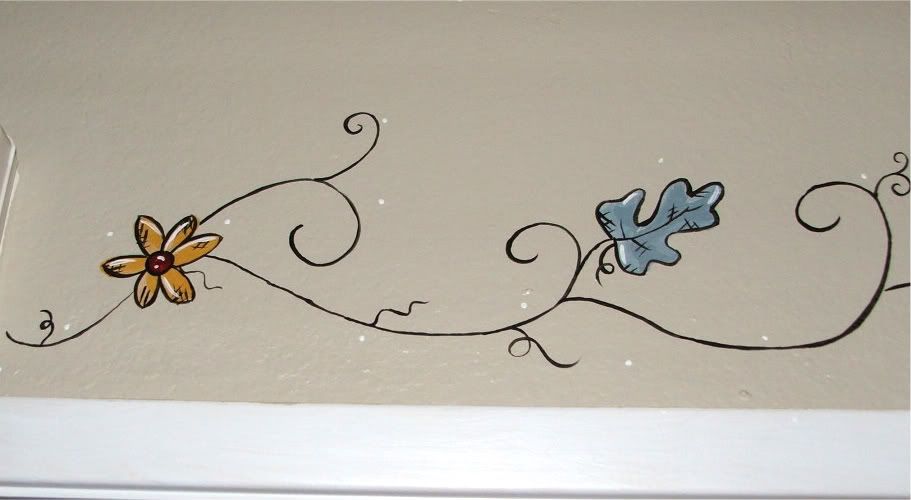
Tuesday, June 28, 2011

Sprucing up my entryway

Today I want  to share with you an easy way to spruce up an entryway. Granted I am not a master decorator,but I do know how to make things cheap. I am going to show you my new "welcome" sign.
Ta dah!
             I love it! The room was so boring and bare before:

 I just wanted something that was well..."welcoming" as I walked in.
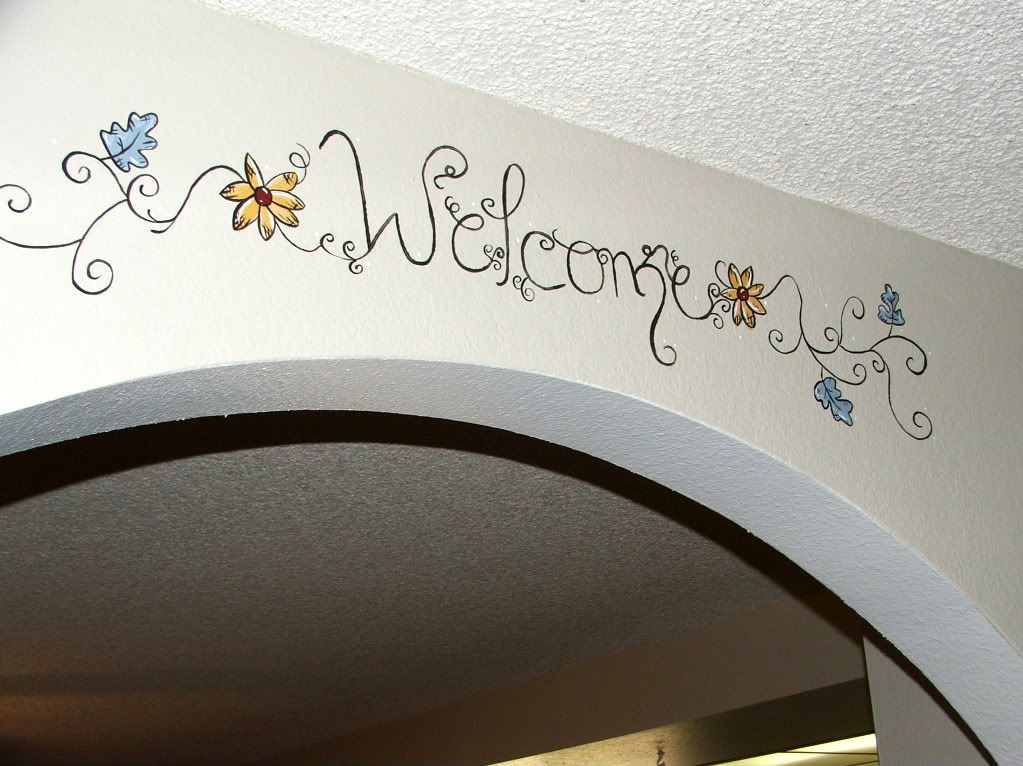
I like this so much that I decided to paint the same flowers above my front door as I leave.
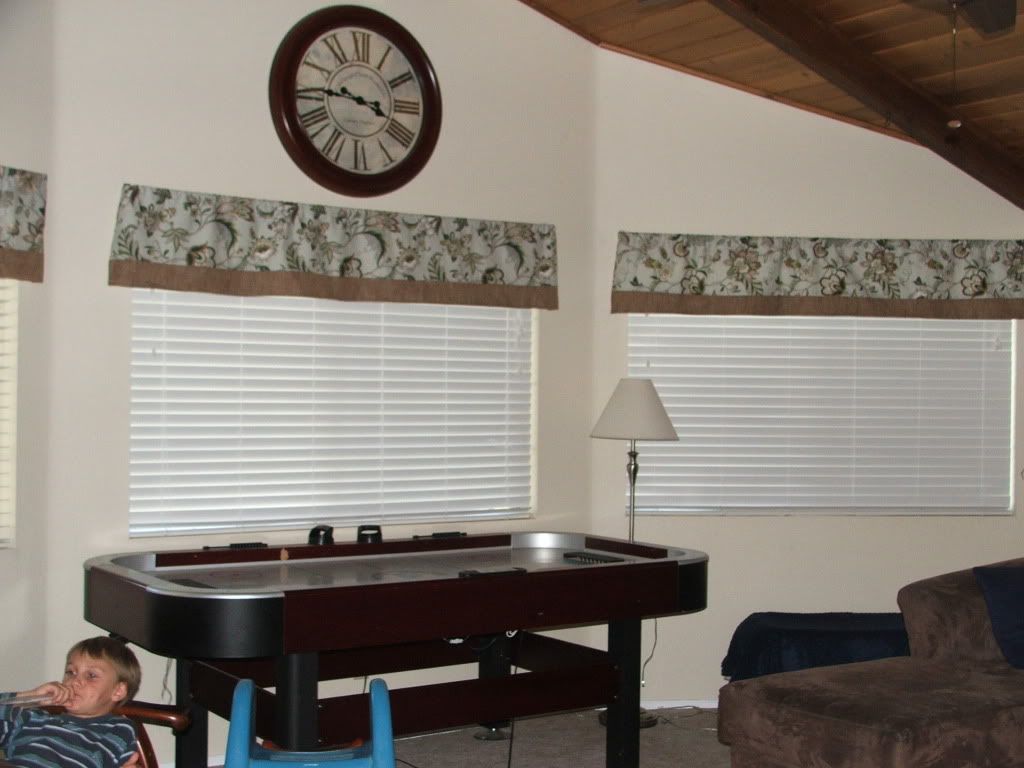
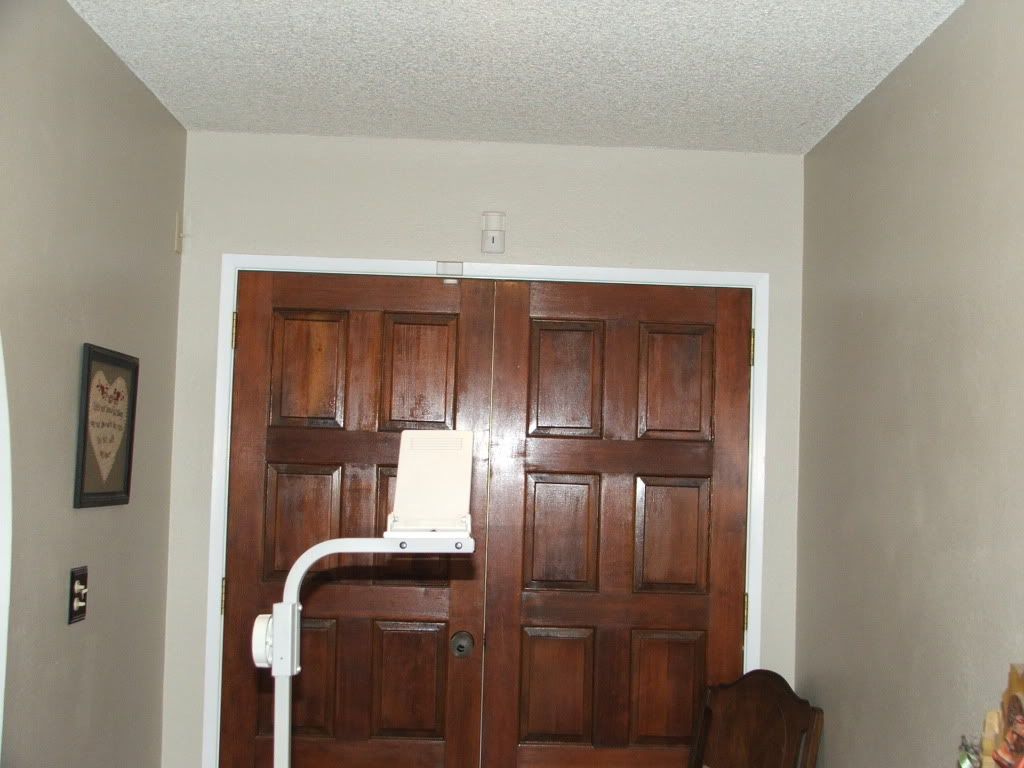
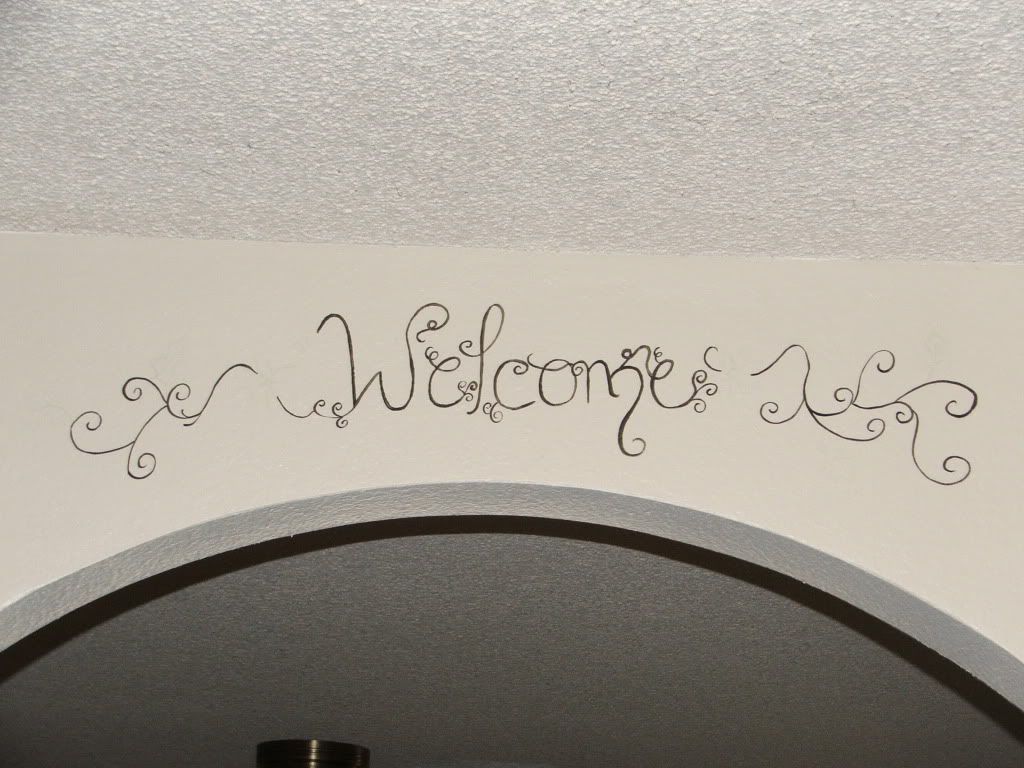
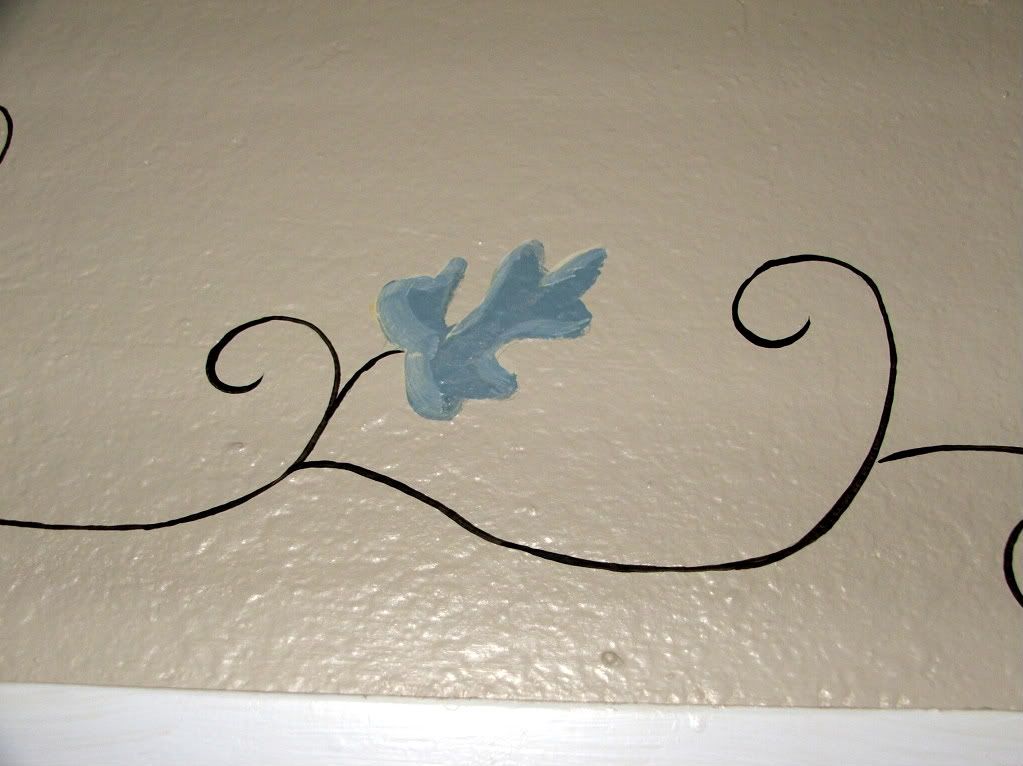
Here is how it looked before:

Now it looks like this:
Now as you will see I tried to use my overhead projector for this project,but it was not working every well. If you can use one they are a great help. Anyway, I am going to show you the steps I did in case anyone out there wants to know.

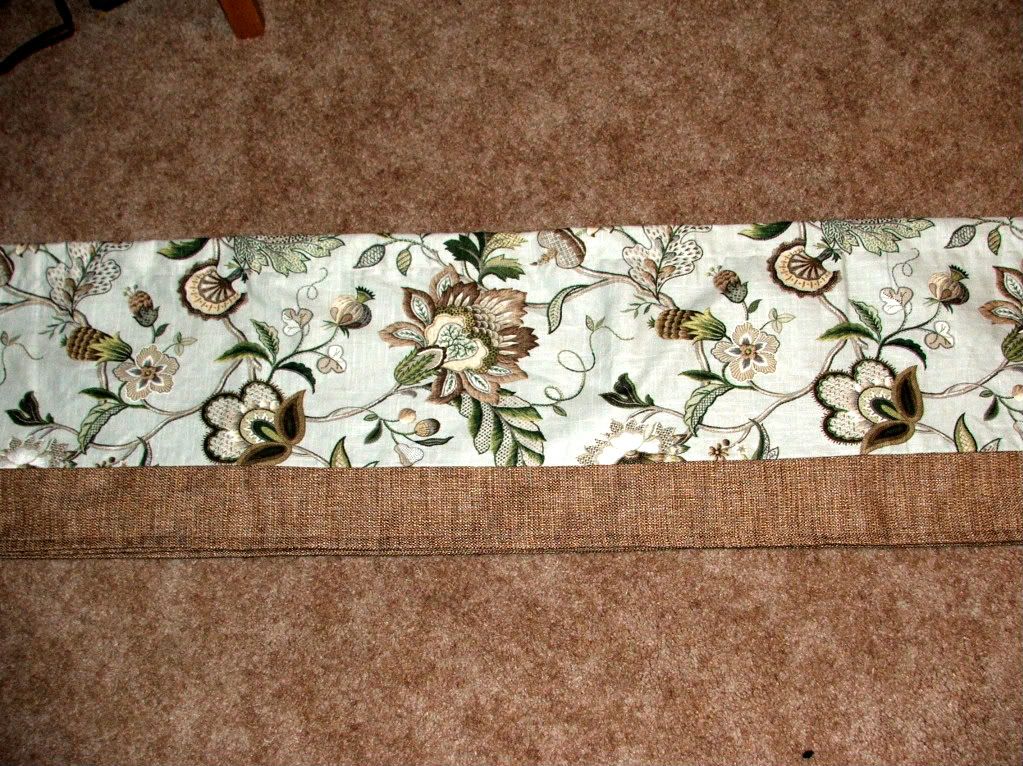
#1 I went to "http://www.dafont.com/ and I got the font "Holiday Home". You can print this and project this or draw it whichever. I got the floral idea from a digital scrapbook page online.

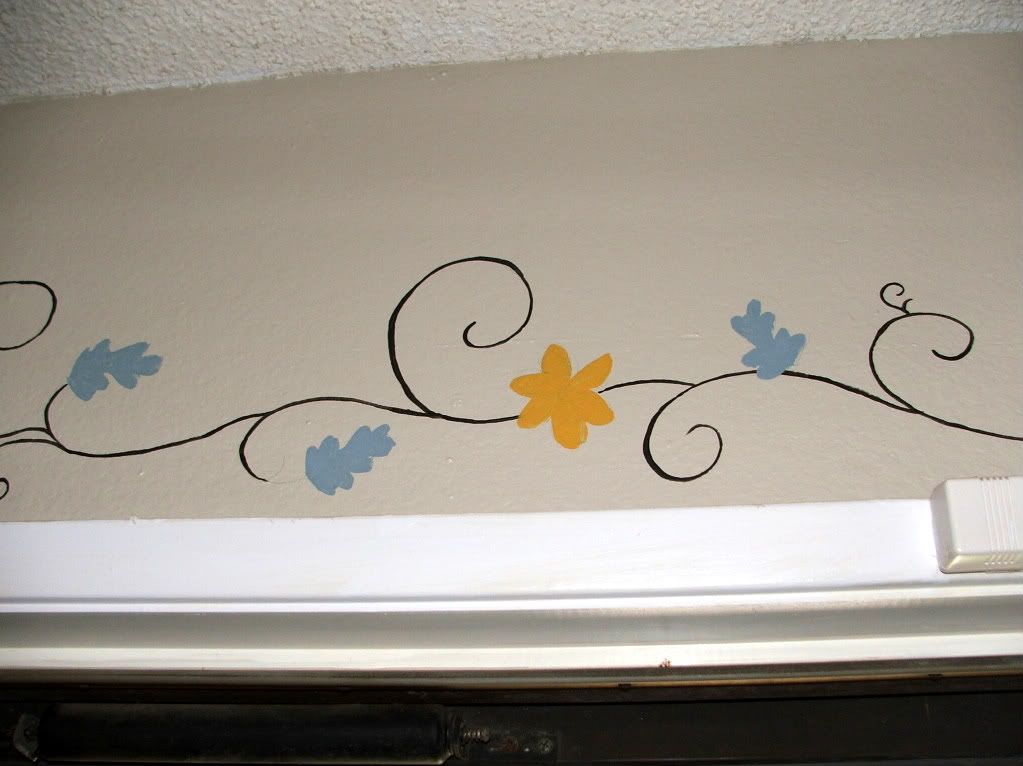
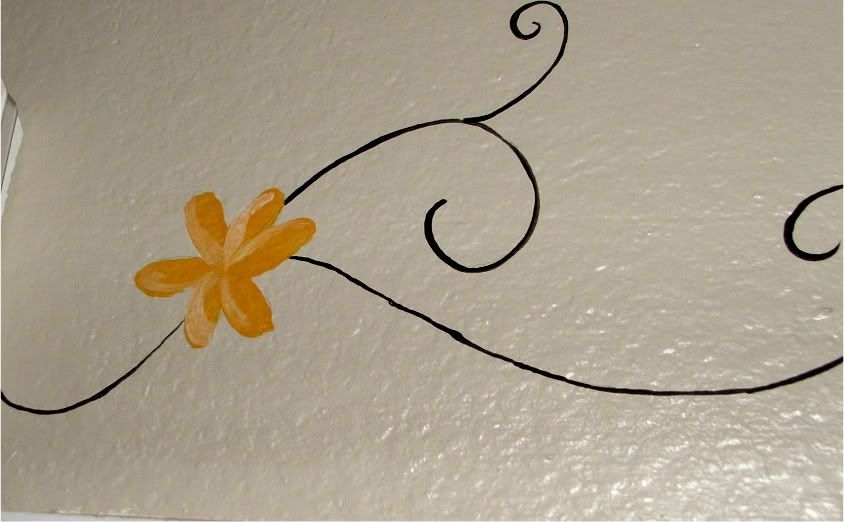
#2 Now draw the image on your wall with a colored pencil.

#3 Then paint the image with acrylic paint. I mixed black and brown with some floating medium into a little bowl. Make sure you mix a good amount of paint so that you don't run out. Also try to get a bowl with a lid so it won't dry up.

# 4 Add colors. I used a blue gray mixed with brown and a mustard yellow.
#5 Add a little white paint dipped in floating medium around the edges of your leaves and flowers.


#6 Now paint the middle of your flowers red and then outline everything with your black color.
#7 Add some white highlights to your flowers and leaves. You could also paint little white dots randomly around your image like I did. There you go. Have fun and thanks for stopping by. 

 I am linking into the fun parties, come join us!
Terrific under 10 Tuesdays
20 below Thursdays
Wow us Wednesdays Weekend Warrior
Debbie doos newbie party
craft Tastic Monday
Weekend Wanderer
Nifty Thrifty Tuesdays
Newbie Summer Party

Saturday, June 25, 2011

Tea Time!

Helloooo lovely friends,
  Today I am going to show you my newest addition to my little girls room. I call it her "tea corner". 
My wonderful friend gave my daughter this beautiful table set for her birthday. She also gave me a princess sign that I have now painted for the tea corner. Here is the sign now. I wanted something fun and whimsical.
Here is what it started out as.
It is hard to see because that is exactly how it looked and it was printed upside down. The hooks were on the bottom hahaha.
Here is her "Tea corner" with her new furniture. This corner is hidden behind her crib so it feels like a little room.
This is a close up of the beautiful chair from the set. I did not paint this!
Isn't it so cute?

This was a really fun project and the sign was pretty much free to do. I am going to party now with these wonderful ladies over at:
Weekend Wander
Weekend Warrior
Terrific under 10 Tuesdays
Debbie doo Newbie Party
Craft couture
20 Below Thursdays 
Come join the fun!
If you like this post stay for awhile and have a look around.

Thursday, June 23, 2011

Suit cases to the rescue!

Hello and good afternoon my bloggy friends!
Today I am want to share with you a fabulous thrift find! About a month ago I was strolling through one of my favorite thrift stores when I came upon these awesome suit cases! I paid $14 for all of them!
I had some big computer storage problems ,like papers and doo dads. So until I know how to organize all this stuff. I am hiding it in these babies.
I am going to being partying with my friend Rhonda over at Blue creek home. Come join us for Treasure hunt Thursday
Have a wonderful day!
Connie

Wednesday, June 22, 2011

Butterick B4176

Hello friends,
  Boy is this a crazy month or what? Last week I had three birthdays and fathers day to celebrate. Now I am up to my eyeballs in canning apricots and green beans. But I did find time to make a little dress for my birthday girl. I used this pattern Butterick B4176.
All the Butterick patterns were on sale for $1.99. I bought three of them. I was tempted to buy more,but I don't want to overdose on sewing patterns that I'm never going to use.
I like the idea that the children's patterns are "Fast and Easy". I know I messed up on some areas,but  overall it was pretty simple. On a side note if you decide to sew with this pattern beware that it runs big!
I used some leftover fabric that I already had, when I do actually purchase some fabric it will be a-lot spunkier.
 Hopefully I will make a few more of these this summer.
If any of you ever make this same dress let me know and I would love to feature you.
In the meantime toodles and thank you for stopping by.
You can find me partying this week at
Nifty Thrifty Tuesdays
20 below Thursdays
  You can see all my party buttons at the bottom of my main page.

Thursday, June 9, 2011

Seven days frugal

Hello my friends,
    Today I am proud to say that I have officially not spent any money on myself this week. I even went to Joanns and didn't buy a single thing. It could be that I am super frugal, but I think it was mainly because I had my three children with me and they were making a bit of a scene. Whatever the reason, it was a blessing in disguise.I am amazed at all the fun things I have been able to do with the items I have already. Free is always best right?

  Well lets have a looky at some fun FREE and easy projects that I have done here.
#1   Pillow covers!I think everyone in blog land has made these,but this was my first time. They are so fun and easy! I bought these blues pillows at a thrift store a couple months ago. I covered them with the remaining fabric that I used on my window valances.

I know my pictures on the wall are way too high,but my sweetheart doesn't want our kids to destroy the treasures he got on his mission.

#2 Distressing ink
I had this little wall hanging for a couple years,but I decided to give it a new home in the family room and  a new look.
I just used distressing ink around the edges because it was a little too pretty.
Here is what they looked like before


Here is the after
#3 I covered my boxes with leftover valance fabric.
#5 More covering up!
I got a little crazy with the distressing ink,but I didn't like the way it looked on my mats.
So I covered them up with the same fabric as the boxes.
I am really happy with the result!

You can tell I didn't do as well with the bottom one since it was my first attempt,but I don't care.
I also found an art print that I had forgot about behind a photograph. II thought that only happened in dreams!We don't have the fanciest things,but it feels a-lot cozier and that is all I really want.
 Thank you for visiting me today. 
You can also find me at these parties
Twenty below Thursdays.
Get your brag on!
Weekend Wanderer 
All my party buttons are on the bottom of my main page.

Saturday, June 4, 2011

Finally some valances

Hello my friends,
  Today I am going to share a project with you that I am so excited about! Have a look at my new window valances!
I love them! Why do I love them so much? Well because I made them,I already had the fabric and  I overcame another obstacle in believing in myself.  So here is the low down. I bought this fabric 6 months ago in hopes that I would cover my chairs with it. 

However I didn't get enough fabric and I couldn't buy anymore because it was on clearance so they didn't have anymore.  What was I to do? Well I didn't know until about 3 days ago and then it all came to me. My windows were naked and they didn't look happy in their nakedness. So sad really.

 I wondered if I dared try such a task, it was rather intimidating, but I said the heck with it! Chop Chop!
I got down a store made valance that fit my window and I used that for my general pattern. I also looked up valances on different websites to see their designs. That is how I decided to use the brown fabric I had to go on the bottom.
And I still have more fabric to make matching pillows! Lets have a look at the final result again shall we..
Hee hee so very happy!

I am going to party here this Monday, Come join the fun!
Weekend warrior
Craftastic Monday
Craft couture 
Debbie doos newbie party