
Today I will be showing you how to make a rag quilt. I made this about 2 months ago so I am not sure how detailed I will get. I have made about three rag quilts and I love them! The best thing about these are that they are not very complicated,but they do take some time and energy. I learned how to do this from "You Tube".
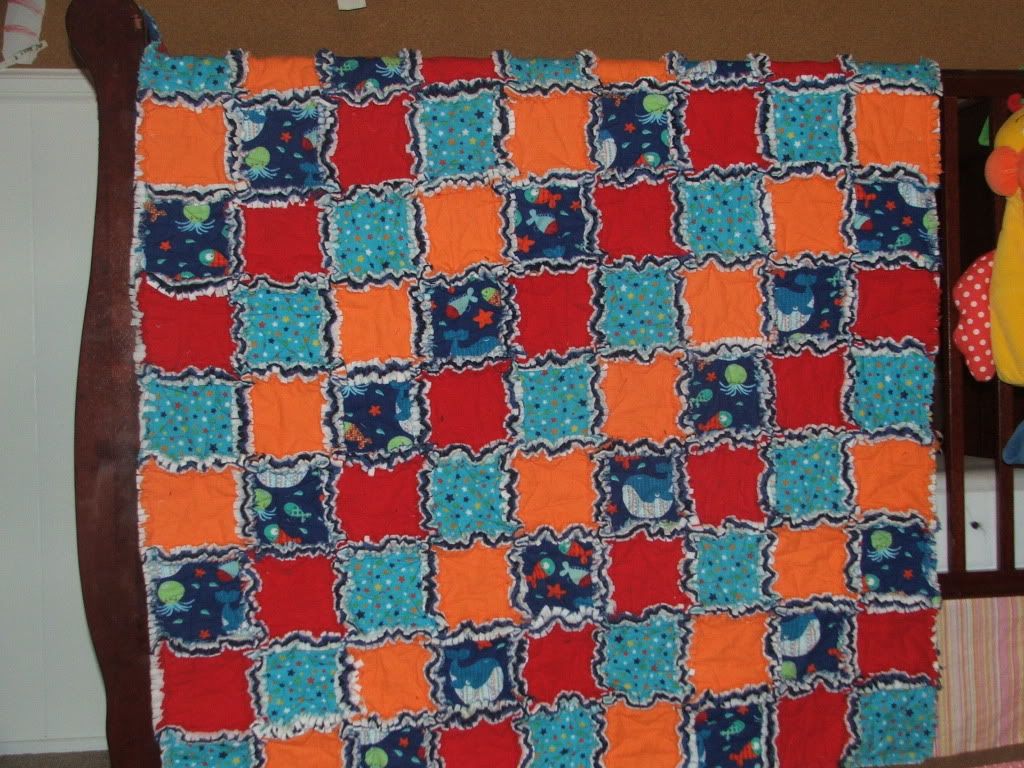

This is a flannel blanket,but you could also use cotton or denim etc. If you use cotton you will need to buy flannel or fleece for the middle sections of the blanket.
Step #1
Today we will be making a toddler sized blanket.

Step #2
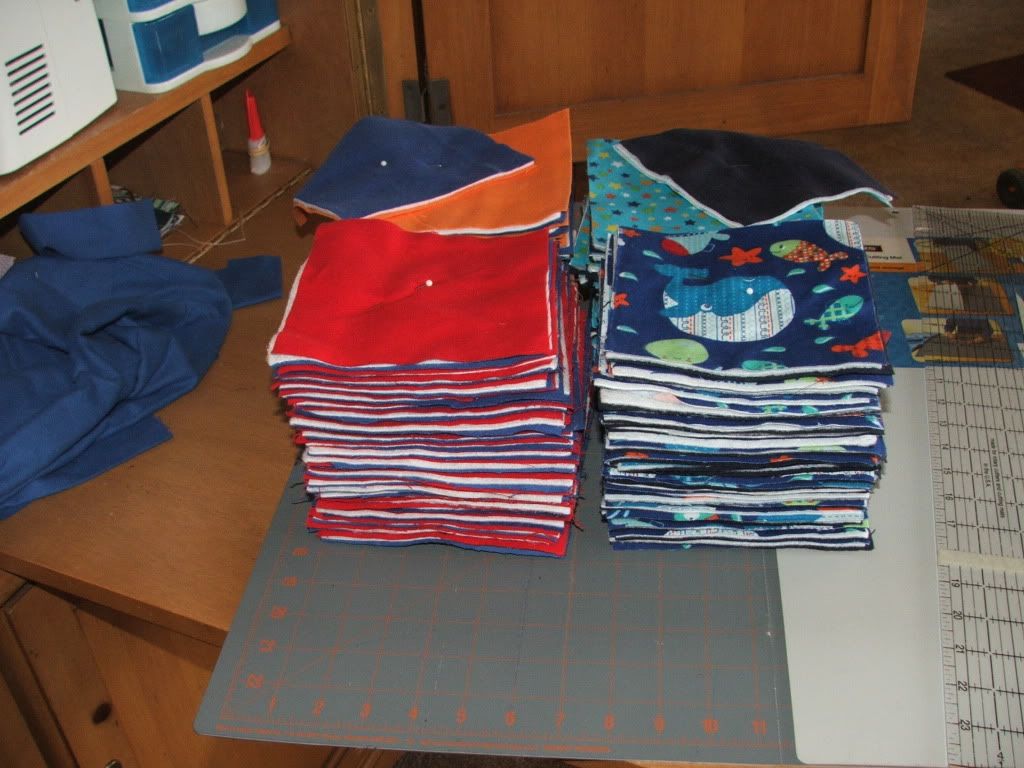
Cut your squares to 6"x6" , here is how I cut mine.
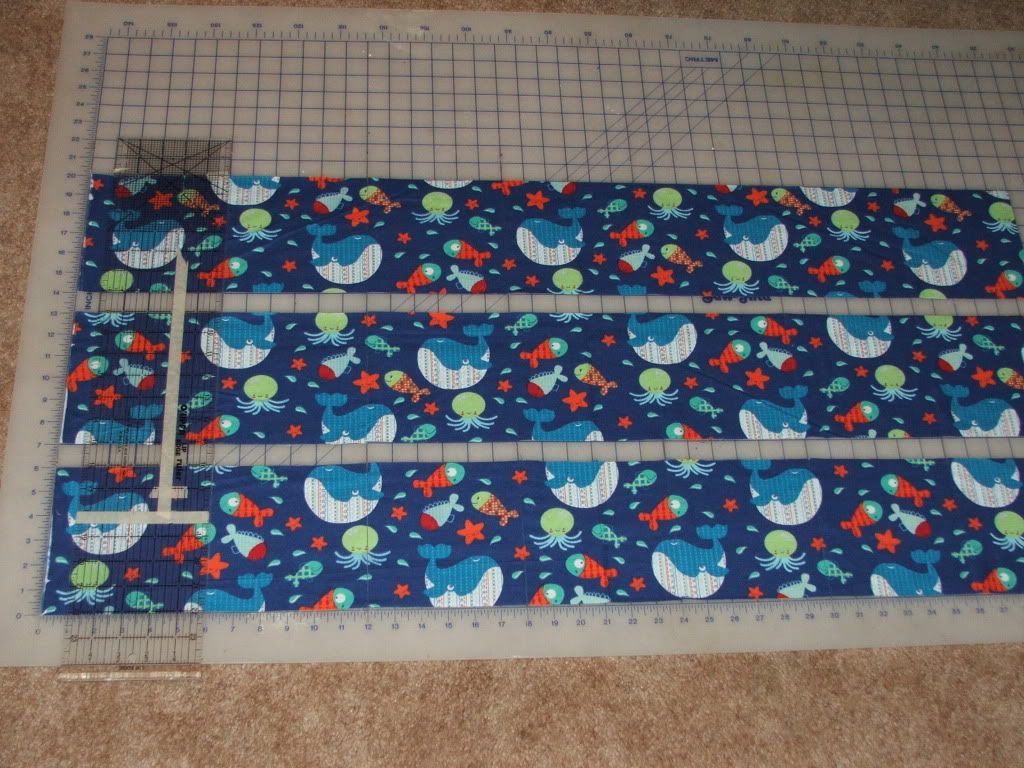


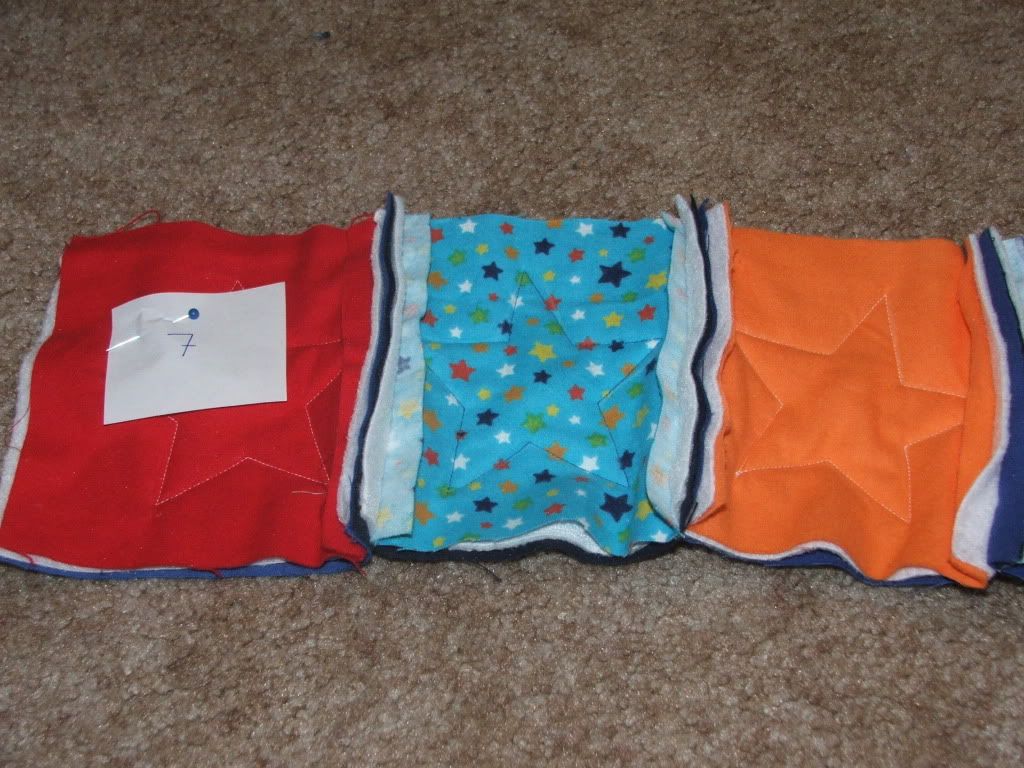
Once all your squares are cut, lay out the fabrics that will be your quilt top on the floor. You will do this so that you can map out the pattern just right.
I made mine 9 squares across and 12 squares down.This is an example of how I started to lay it out and then I went in and filled in the rest of the pattern just rotating the squares. (Take a picture of your pattern so you don't forget.)

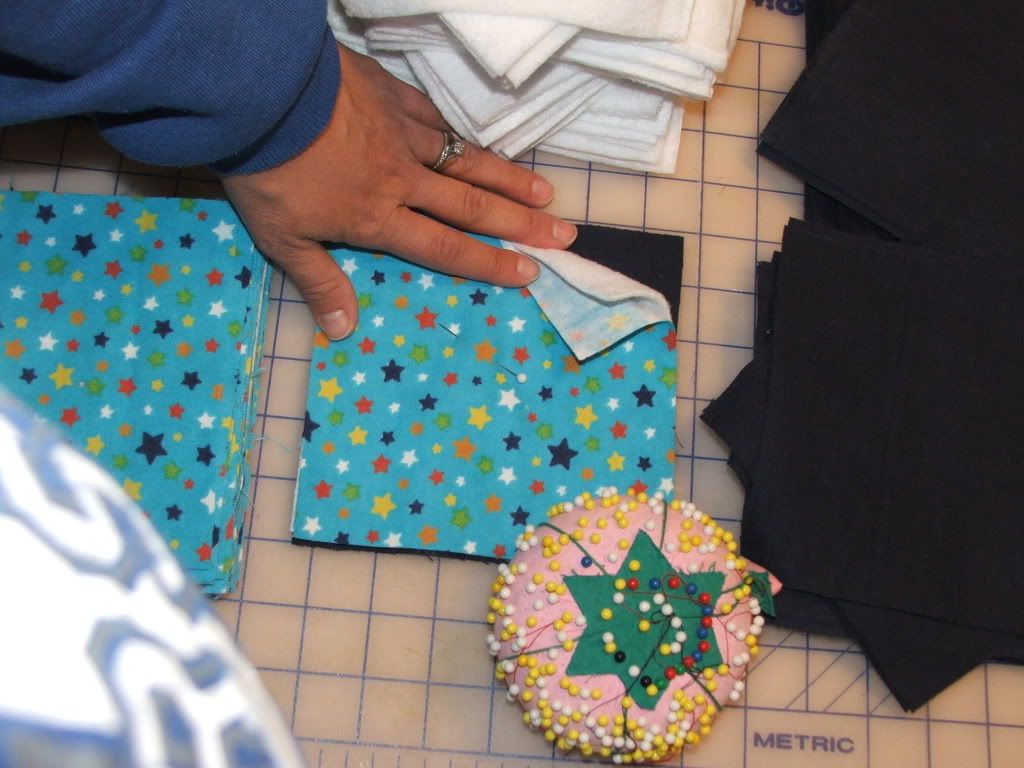
Now it is time to layer your squares.
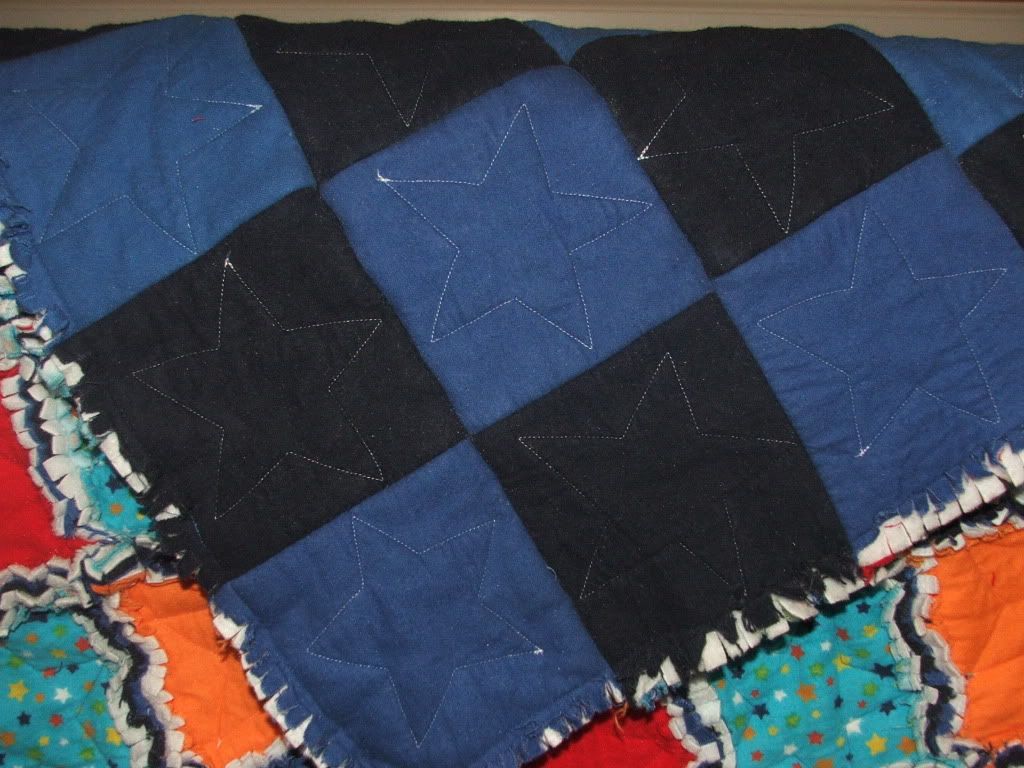
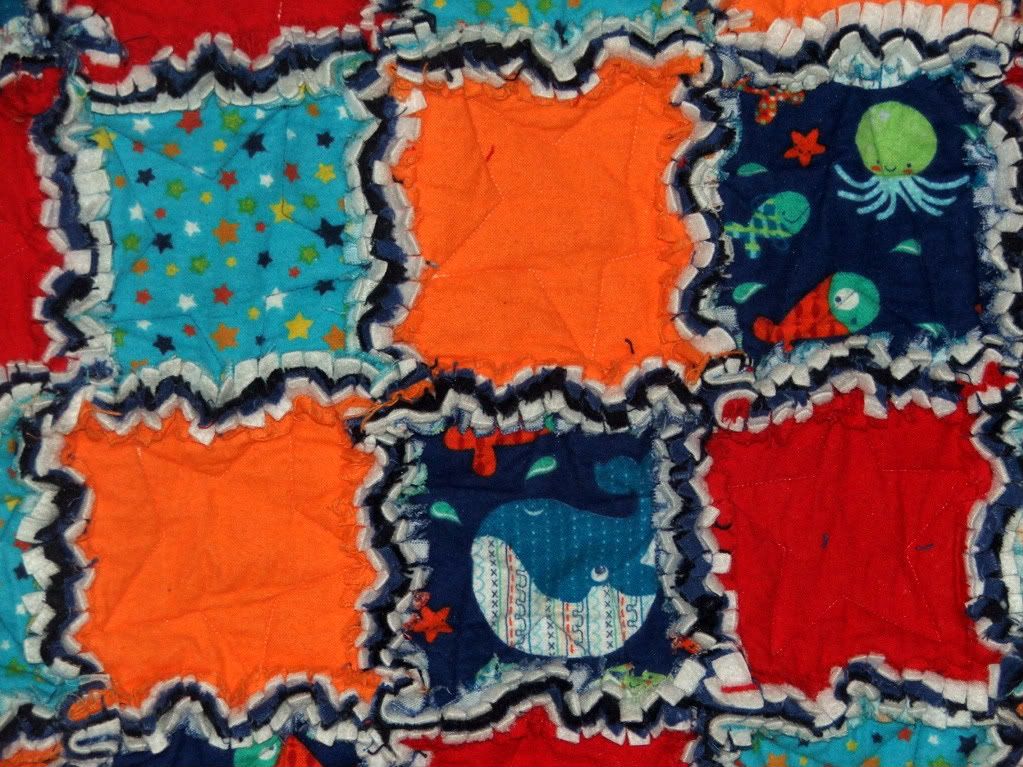
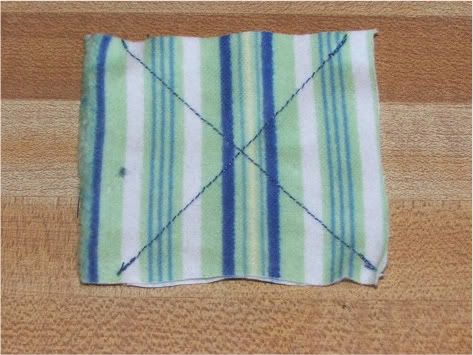
Sew each block to keep the squares together. You can sew whatever design you want in the middle. The fancier you get, the more time consuming it is,but you can do it.
You will usually see rag quilts with big a x through the middle like this.

Step #6
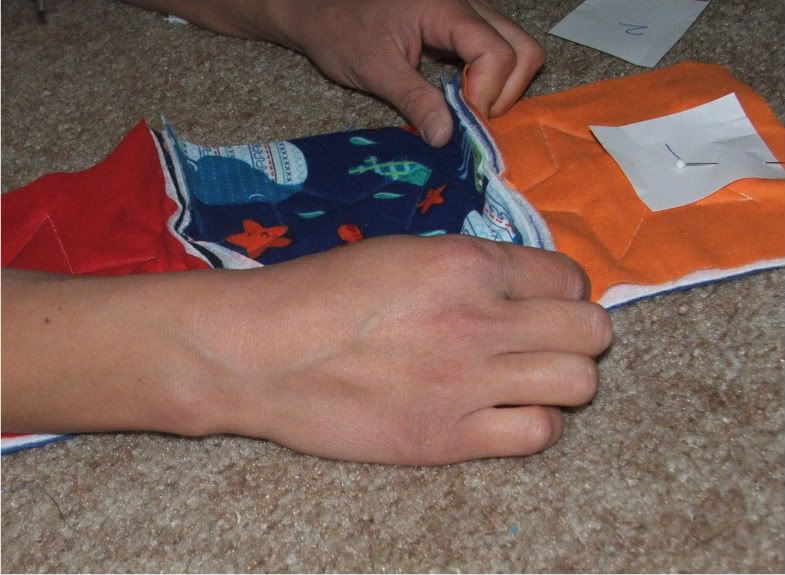
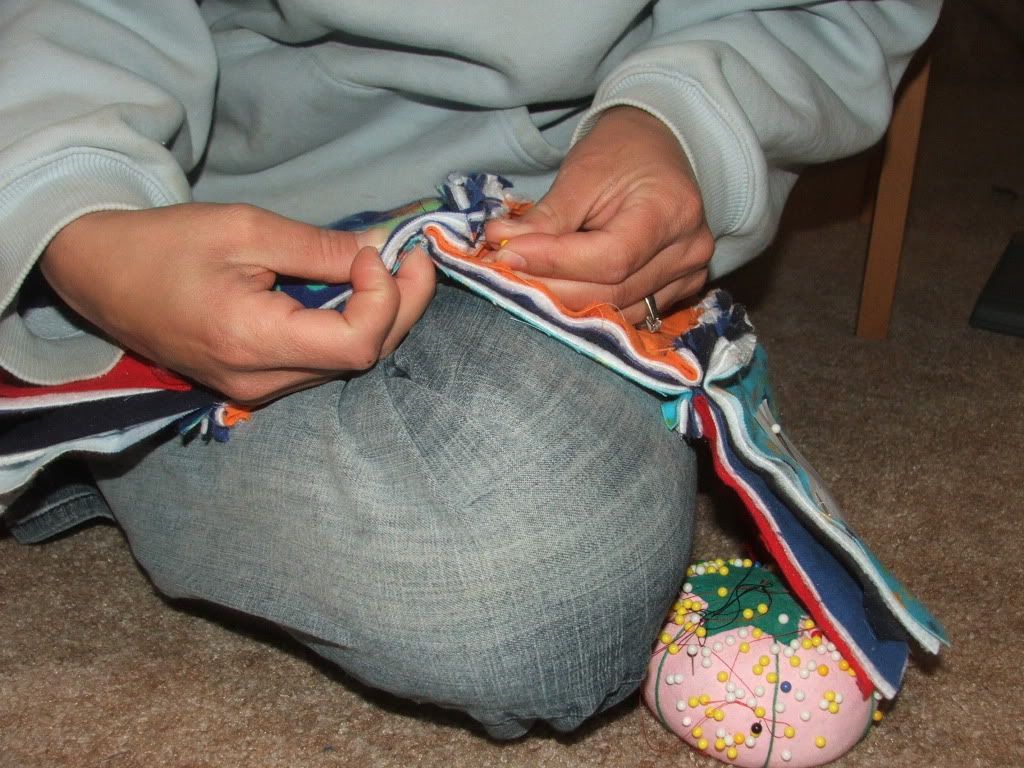
Now that you have all your squares sewn, you will pin and sew the squares to each other by following the pattern you made before. Sew about a 1" seem so that there is room to cut the fringes. I also pinned a paper on the first left box of each row with a number on it so I could keep track of the order it went in.
Step #7
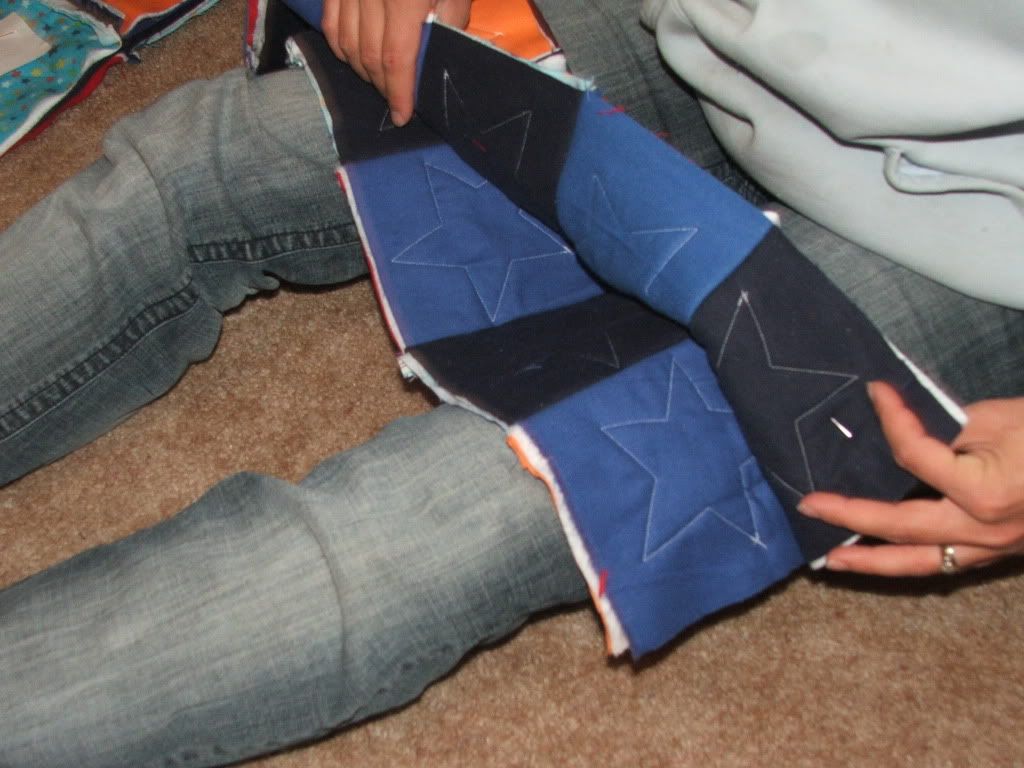
Now you will attach the rows together.


Your rows should match up like this before you sew them together.
Step #8
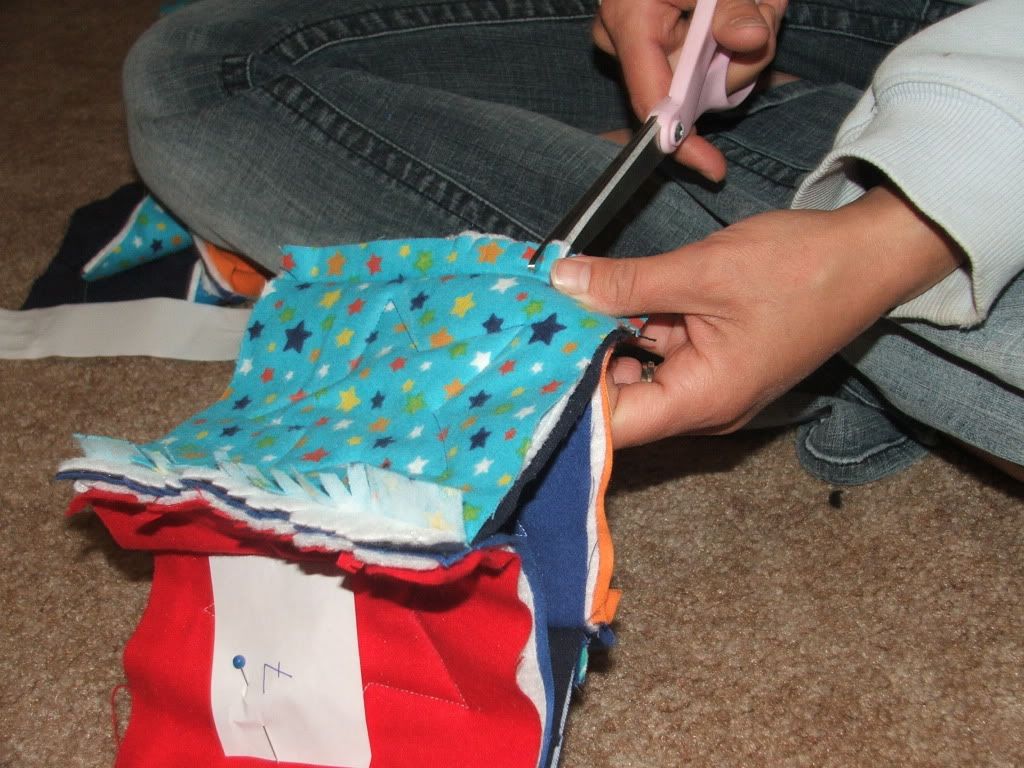
After you have sewn all 12 rows together you will need to sew a 1" seam around the entire blanket. Then you will begin cutting the fringe
Step# 9
Now that you have sewn your entire blanket, machine wash it with an extra spin cycle and then machine dry. You are done! to see my other rag quilts go What to do with old jeans
If you have any scraps left you can use them to make a burp cloth !
* Do you have a rag quilt that you would like to share with everyone? I will gladly feature you.
I am going to be linking in today to
Get your brag on Naptime Crafters
I have been wanting to make Prince A a toddle quilt ( he is getting too big for his baby quilt), I am going to try to make this one and will let you know when I do:)
ReplyDeleteGreat tutorial, Connie. I love the star quilting that you did... super cool!
ReplyDeleteGreat job Connie! Looks like a lot of work went into that! Maybe one day I'll try to take on a project like that!
ReplyDeleteI have a quick question, why did you purchase 2 yards total for the front, but 3 for the back?? I'm planning on making a toddler quilt this weekend and trying to figure out how much fabric to purchase.
ReplyDeleteThanks!
Katy
Good question Katy! I made this a couple months ago so I couldn't remember the exact amount of fabric I bought. You should be fine with two yards in front and two on the back. I like to get extra fabric in case I mess up or in case I want to make a matching burp cloth.I hope this helps.
ReplyDeleteConnie
This is such a darling quilt! I love it! Thanks for the tutorial! I am just starting my first quilt! I will totally have to try this!
ReplyDeleteYou may be able to get rid of your scars but even if
ReplyDeleteyou cannot completely rid yourself of the scars
you can certainly reduce the appearance of the scars.
There are some effective home remedies you can apply to your skin to treat your acne.
You must also replace bed sheets, blankets, pillow cases
and couch covers frequently to avoid lying down on dirty surfaces.
Also visit my homepage; best way to get rid of acne