Friday, December 23, 2011

Canning lid ornaments

Last Christmas I had a ton of used canning lids leftover that I didn't feel like throwing away. I also had three rambunctious little kids that like to play with the Christmas tree.  How do these two relate? Well I made kid friendly ornaments with the canning lids!
 These are so fun and easy! But I must warn you, they are rather addicting.
This is a great way to use old Christmas cards or Christmas bags. In fact,I got most of my ribbon and ties from recycled Christmas bag handles.
All you need are the following supplies:
Hot glue
Decoupage medium or Mod podge
Canning lids and rings
Ribbon
Paper image or fabric
Felt
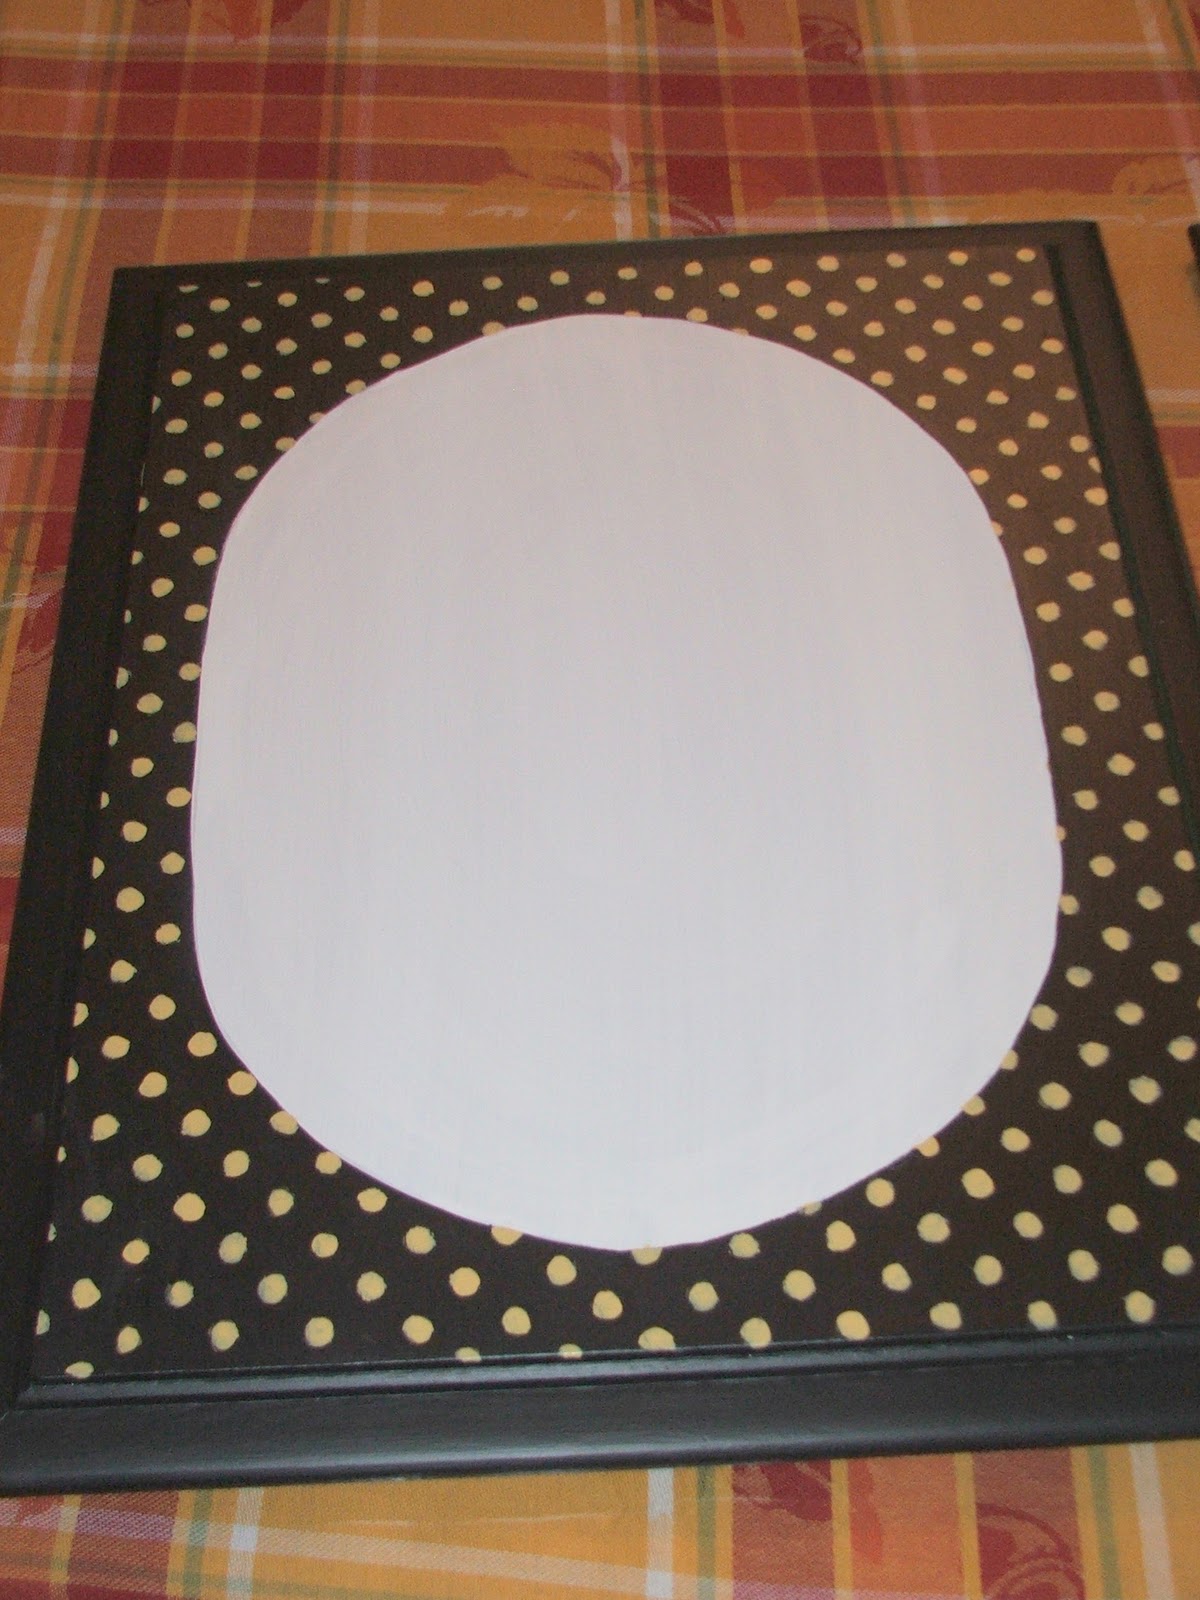
         The snowman I have shown above was super easy. I cut out some fabric and mod podged it to the canning lid. I did a layer on the bottom of the fabric first ,when it dried I appled a liberal amount of Mod podge to the  top of the fabric. After it was completely dry. I hot glued the rick rack around the back of the lid, followed by the ribbon handle. I then glued a felt circle to the back to cover all my mess.

For the more three dimensional ornaments I did the same thing,but I used the canning rings over the top of the lid and then glued the rick rack etc to the ring.
I am really happy with how these turned out. My kids take these around the house and I don't stress about it.
I am going to link up to a couple parties this week. 
I am going over to 
and 

Monday, December 19, 2011

Liebster blog award

Oh  my gosh am I late at announcing this,but hopefully better late than never. Ashley over at A to being creations gave me a liebster award! She is awesome! You have to see her blog, she is so creative! To share this generosity I get to pick five blogs that I love that have less than 200 followers. This is going to be hard....
 Here is the full description of what this award means.


The Criteria: The Liebster is meant to showcase bloggers who have fewer than 200 followers. This is all done in the spirit of pay-it-forward.

The Rules: You must mention and link to the person who awarded you the Liebster, and mention 5 other blogs with fewer than 200 followers who you think are worthy of the Liebster!

'Liebster' means "favorite" or "dearest" in German. This award, which originated in Germany, recognizes up and coming bloggers. In accepting this award, I agree to:

-Thank the person who gave me the award, and link back to their blog
-Copy and paste the award to my blog
-Reveal the 5 blogs I have chosen to award and let them know by commenting on their blog in hopes they 
  pay it forward by awarding it to bloggers they would like to honor.


Here is my list of bloggers you should check out:
Magazine your home
Puddle jumpers creations
The uncluttered lifestyle
The green dresser
Piles of projects

Here was Asleys list


Remember to check out Ashleys blog here http://www.atobeingcreations.com/
Have a great day!
Connie

Wednesday, December 14, 2011

Joyous signs

Hello there I am back. Remember me.....
    The hard drive on our computer went down and so etc etc. No need to explain. Now here we are just days away from Christmas and what do I have to show from it besides a couple pounds? I have finally finished these little Christmas signs today.

Let me back up, I tried to paint these signs yesterday while I was yelling at my kids, my heart was racing and I was not in the right "aura" at the moment .I didn't stop painting though no,no I kept messing up and I was thinking that if I just did one more layer of paint then I would fix my issues. It didn't work and I hated the signs and myself so I went to bed a little sad. Hahaha isn't that dumb.
Here is what they looked like yesterday.
I think the most ironic part about this, is that I was painting words like Peace and Cheer when really I was feeling RAGE and FRUSTRATION!
Anyway I didn't want to  paint over these misfits again so I got out my mod podge and my "Cricut "machine. I got the machine last Christmas and I have only used it a handful of times. I don't my husband to think I am ungrateful and that I don' t love nice presents so now I can show him that I really do love his gifts.
These turned out really sparkly,but I couldn't get a good enough picture you will just have to visualize the glitter in your head.
I am hanging these signs up on my Polka dot cabinet doors that I posted a couple weeks back.
 So what is the words of warning here? If  at first you don't succeed,dust yourself and try again.
And don't paint when you are mad.
I am going to link up with:
Terrific under 10 Tuesdays

Thank you for visiting!
Connie

Saturday, November 12, 2011

Polka dots for grown ups

Today I am excited to share with you "my old cabinet doors"! Well actually, they were from my friends old kitchen,but now they are mine and now they look new! Here is a looky loo.
I love polka dots don't you? And I wanted to find a place for them in my home besides my daughters room. Can you guess where I put these doors. For those of you that follow my blog,you will probably remember my "Bakery" Sign in my dining room. Here is what it looked like before...
And now.....
Okay so I am not the "photographer bug" ,but they look really cute in person. I plan on hanging seasonal decor from the hooks for every holiday. I bought the hooks at hobby lobby by the way. That was the first time I had ever been to that store and let me tell you, that place is AWESOME! I wish we had one closer.
 Well here is how I made these.

This was the piece I took the doors from.


I sanded the wood,primed it and then cut out this little oval from a grocery bag.

Then I painted the black followed by the stenciled polka dots. Here is what it looked like when I was almost done.
I had so much fun making these doors that I am now in the process of painting another one. I will share that with you at a later time,if it turns out alright.
 Thank you so much for stopping by.
I am going to party over at

Weekend warrior w/Ask Anna
Debbie doos newbie party

Anything goes w/ Type A
Terrific under 10 w/ At home with K

Turning the daunting into the do able
Connie

Thursday, October 27, 2011

Diamonds in the rough

Hello and thank you for stopping by,


  I am going to introduce you to two night stands that I have been working on for an embarrassingly long time. I bought these two night stands at a thrift store back in.....August. They were pretty ugly and stinky,but they had potential. I chose these pieces because they were solid wood, no cheapy fake stuff and I really liked the style. Here are what the little darlings looked like before.
       

What do you think? A little better huh? Of course anything would be better than what they were before.


I had to degloss and sand both pieces. I then added a light blue primer / paint by Olympic called "Lunar eclipse". After a couple of coats of blue paint,I painted on the decorative artwork. I painted the top and front images with black acrylic paint. I found inspiration for the paintings by searching online for "toile fabric"
 
After painting, I sanded down the corners and then I applied watered down black acrylic paint to all the sanded areas. After all my paint was dry I applied a couple coats of poly acrylic protective polish all over. To make these look and feel like new I even paint the backs, the bottoms and the all of the drawers inside and out.
I used the original white glass knobs and just replaced the screws inside. I then painted the tops of the screws with black spray paint.

My husband secured all of the loose corners and now we have ourselves two nice little dolls and you would never be able to tell that they had a bad past.
Here some other photos.
Now I am going to do a daring thing and try to sell these on Craigslist!
Wish me luck!
Today I am going to visit these parties.

Wednesday, October 26, 2011

Happy little witch

I love Halloween decorations! I am not into scary decorating however,I like "cute and cuddly". I think what I especially love about Halloween decorations are all the colors you can use! 

So anyway, a little history about this.  I was getting ready to hop into bed about three years ago and this idea came to my head of a little witch flying on a cat with a green sky and purple city below. So I found some small canvases at Wal-mart and I painted three of these. They looked cute,but not finished.I have been hanging this picture up by a ribbon all these years so finally this year I decided to get a frame at a thrift store.
I painted the frame and now it looks like a more established decoration.

If in the future I find a more interesting frame with scroll work then I will probably change it,but for now we are happy. 
Thank you for stopping by! Have a wonderful day.
 I am going to go play over at these parties this week.
Terrific under 10 Tuesdays
Wow us wednesdays
Debbie doos newbie party

Connie

Thursday, October 13, 2011

A little Frenchy

Alright,
  I have not posted anything real "crafty" lately.Not because I don't want to ,but more because these rickety pregnant bones of mine don't always agree with me. I managed to paint this yesterday though and it was really  fun!

Two days ago my friend threw down a little challenge for me ,she wanted me to paint a plastic window that she was having a hard time with. 
This is what it looked like two days ago.

She had painted a high gloss latex paint over the plastic which I think actually helped cover all the swirly plastic designs.But because it was so glossy I went over the whole thing with two coats of primer first.


Then I drew my main shapes on a paper and cut them out. I then used them as sort of a stencil. Have a look. To get the middle stencil I folded my paper and cut it out snowflake style,It made it so much easier.

She wanted a faux , frenchy looking bathroom piece. She showed me a-lot of examples of the colors and styles from the website http://www.fulcrumgallery.com/.
There are tons of cool prints on that website!I think I will be visiting there more often for further inspiration.
Anyway I made sure to use a top coat over the whole window since it will be exposed to a-lot of steam in her bathroom.
Lets have another looky and the finished project.
Now she can sit in the loo and pretend she is in Paris.
I am going to go over to these parties today .


Monday, October 10, 2011

We have a winner!

Hello and thank you everyone who participated in my giveaway!
Their were 22 entries and only one winner. The winner gets a free computer software program from My Memories and she is going to have so much fun! Here are some of the pages I put together the other day.
All of these pages elements were free downloads from my memories. Okay blah blah. I visited www.random.org and one in 22 came up #5!

Congratulations "Average Joes Wife"!  You won! Alright! You are going to love this program,it is awesome! 


For all you other participants do not despair! I will have giveaways in the future and I will keep you informed. If you are interested in the program,you can still get $10 off using my coupon code on the right hand corner of my blog or on my giveaway page here
Thank you everyone ,thank you ,thank you!
Connie

Monday, October 3, 2011

My Memories Suite Giveaway! Closed

Hello Hello,

  Boy do I have a treat for all of you followers and friends out there! I am hosting the best giveaway ever! Have you ever heard of my Memories suite? Well I hadn't until about 2 weeks ago and let me tell you I looooove it! Here is a video demo.
The movie is kind of cheesy yes,but it really IS great digital scrapbook software! Every week on the website they post lots of new free downloads,they also have kits you can buy. Like this one
for under $10.00. Isn't this cute! I totally want to get this one! The great thing about kits like this,is that once you have them downloaded ,you have it forever! This pack comes with paper,embellishments,lettering and frames that you can use over and over again. They also have  pre-designed pages that come directly on the software and you can just add your photos right in. Here is an example of some of the free already made pages that I used.
Easy, easy! The pages also allowed me to move the little designs around and change the background paper if I wanted to. There are tons of options you have with this software. You can make photo books,web albums,interactive albums with video,calendars,cards or you can print them out page by page.They also have several different layout sizes so you can put your pages in picture frames or in albums that you already have at home. If you visit the My Memories blog you can find some really cute ideas!
  Here is a page I made on my own.
Here is a pre-designed template below that I added my daughters picture to.
Anyway you get the point,it is pretty awesome!

So lets get down to the nitty gritty. The friendly people at My Memories have given me the opportunity to give one of my follower friends this awesome digital software for free! Do you want to win,do ya,do ya? Well there are several ways to enter: 


Mandatory:
                #1 Visit My memories and come back to tell me what your favorite digital paper pack or layout is. (1 Entry)
Extra:
                  #2 Become a follower of mine and let me know (1 entry)
                 #3 Like my memories on facebook   and come back to let me know.(1 entry)
                  #4 Post this giveaway on your blog .(2 Entries) I will confirm if this shows up on your blog.
                   #5 Follow them on Twitter http://twitter.com/#! /mymemoriessuite    ( 1 Entry)

This giveaway will end on Sunday night October 9th and I will announce the winner next Monday Oct 10th.
* PLEASE ,PLEASE, PLEASE LEAVE ME A WAY TO CONTACT YOU IN CASE YOU WIN!*


*****If you can't wait and you would like to buy the software now visit www.mymemories.com and type in this coupon code STMMMS75800 to get $10 off the My memories suite 2 software and get an additional $10 off a digital layout kit.******
  
I am going to join a couple linky parties this week:
Debbie doos newbie party
Anything goes
Weekend wanderer

Thank you and Good luck! 
Connie