Wednesday, March 30, 2011

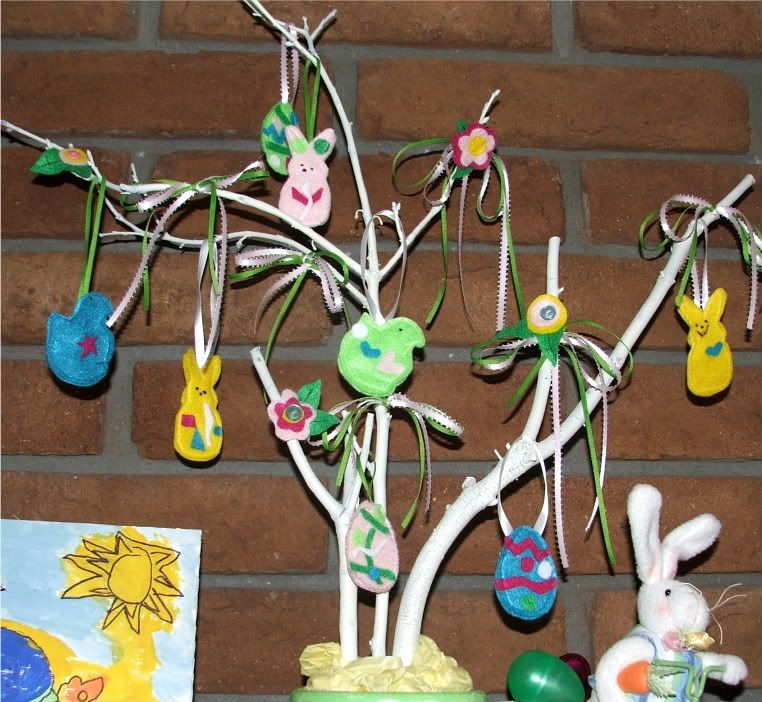
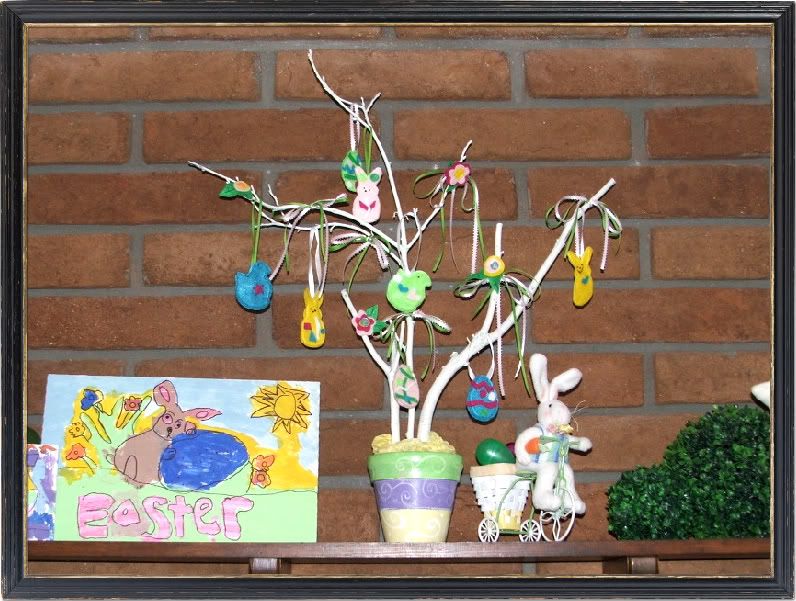
An Easter tree for my family

I have a project here that was put together with love by me and my two little boys. It is our "Easter tree". They love it, and they especially love the fact that it is displayed above the fireplace along with there artwork from last year. I realize that I have difficulty in letting my children help me with crafts sometimes. It requires a-lot of patience and an open mind. The projects don't always come out looking the way I planned, but I am often pleasantly surprised.  I have found that when I let them help me they appreciate it more and that is what  home is all about, surrounding yourself with things you love.
I spray painted some branches we had and repainted an old terracotta pot. I put some of the green floral foam stuff in the pot to keep the branches in.( I don't know what it is called,sorry)The tissue paper around the base was in our Easter box, we were using it to store things. The ornaments are felt, the boys decorated all of them,except the flowers. It was pretty easy, just time consuming. This makes a fun family home evening project.
VisitMade 
for the ultimate peeps bunny crafts.
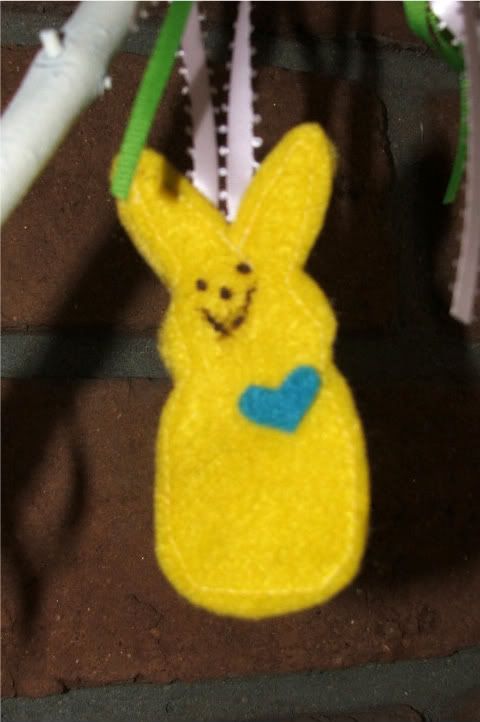
(My 6 year old did this one above)
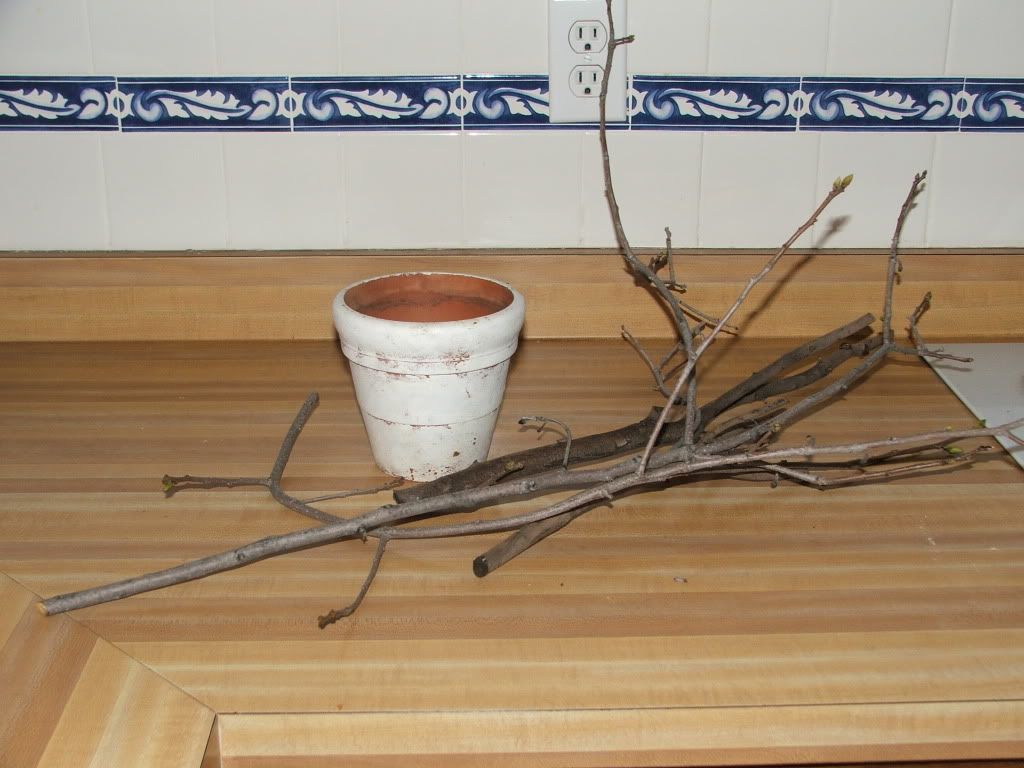
Below is the before of the branches and pot.

This is the pot before I added a high gloss coating to it.
If you have done any fun family craft that you would like to share, I would love to see it. I hope you have a great day.

Tuesday, March 29, 2011

Apple pancakes with hot apple syrup!

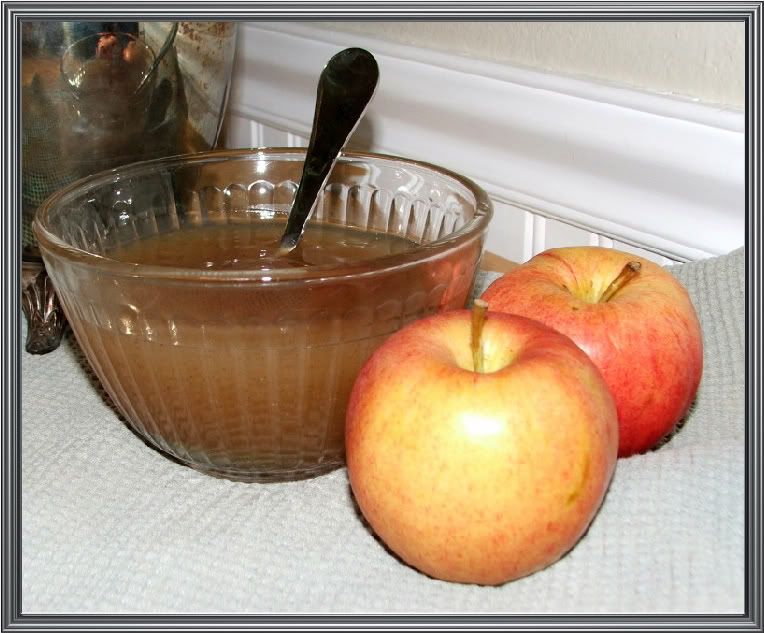
I was trying to think of something really clever and witty to say,but it is just not happening. All I can think to say is this is the BEST DANG HOT APPLE SYRUP I HAVE EVER HAD! It is the only one I have ever had,but I am standing firm in this opinion. In fact I don't even know if this was meant for pancakes,it tastes like the syrup that comes in apple pie filling a jars. Who cares right,it's good that is all that matters.
The pancakes are good too,but they need this syrup. On the other hand I could eat the syrup alone with a spoon. (In fact I did, hehe) I got the pancake recipe here "Veronicas apple pancakes ".
Now for the syrup recipe.
                                                Pillsbury hot apple syrup
      1/4 cup sugar
4 teaspoons cornstarch
1/4 teaspoon allspice
6oz can frozen apple juice concentrate,thawed
1 cup cold water

In medium saucepan,combine sugar,cornstarch and allspice. Add apple juice concentrate and water;cook over medium heat until slightly thickened ,about 10 minutes. ( I let it boil for a minute or so to make it thicker) Yeids : 1 1/2 cups (The photo above features a double batch,it was way too much!)
 I hope you enjoyed this! What is one of your favorite breakfast recipes?
I am linking up today to Type A linky party and Terrific under ten tuesdays

Monday, March 28, 2011

Bonjour Butterfly giveaway!

( This Giveaway has now ended. The winner was "Granny's Attic" #3)
Bonjour!My friends!   I promised a giveaway and here it is!
You have a really good chance of winning this one! Hahaha, So why not give it a shot!
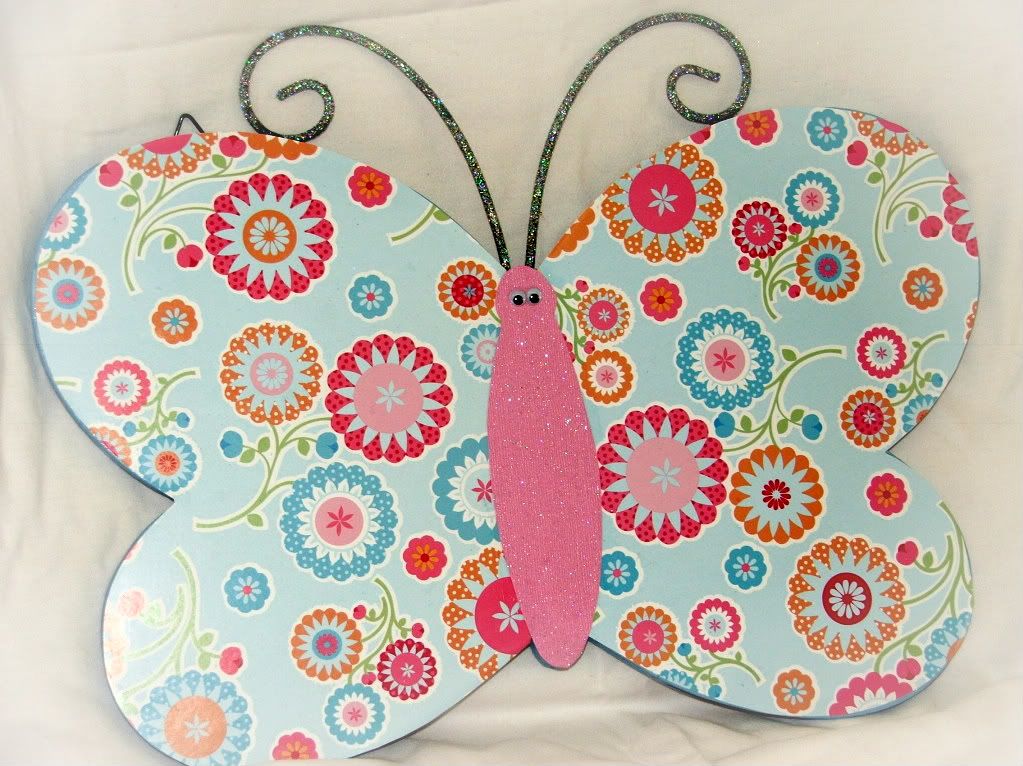
This butterfly measures about 16"x10" at the longest and widest parts. I call this the Tropicana beautifly!
                                                                 How to enter:
Become a friendly follower& leave a comment= 1 entree
Post this giveaway on your blog,comment  to let me know and =2 entrees
Become a follower through e-mail,comment to let me know= 1 entree
*Remember to leave some way for me to contact you!*
I will announce the winner on Saturday April 2nd
I am linking up to Type A/ Anything goes linky party!

Friday, March 25, 2011

Bonjour Butterfly!

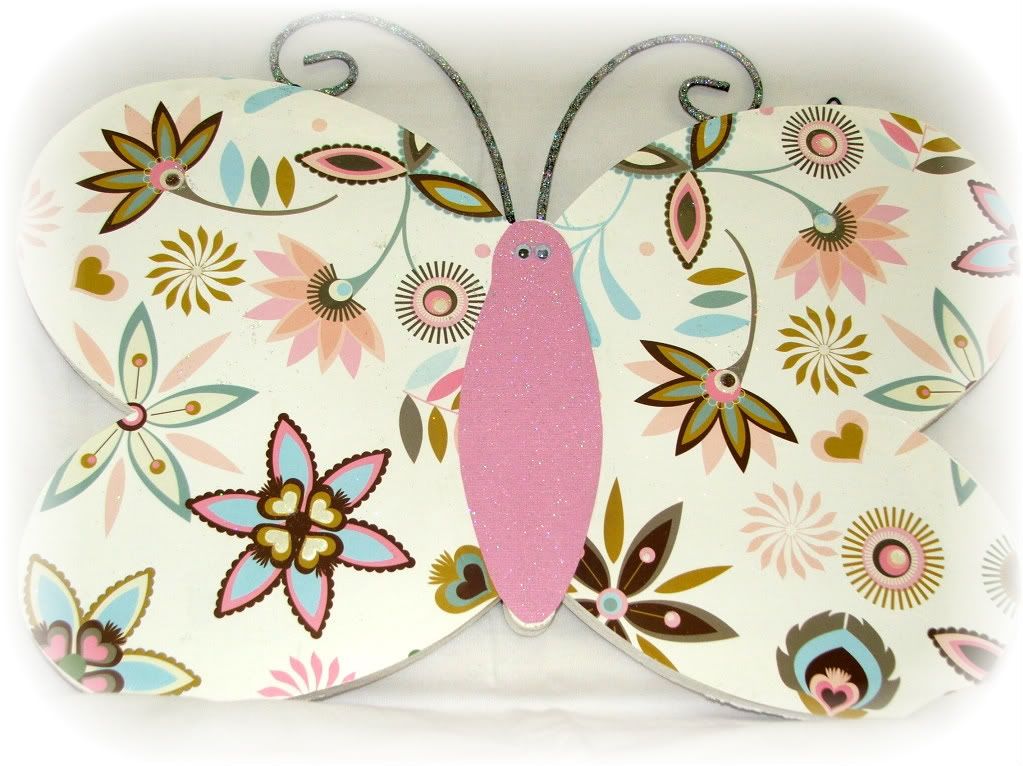
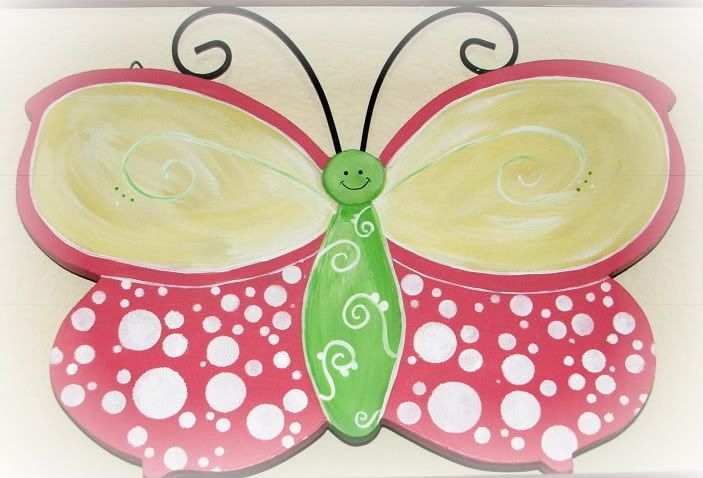
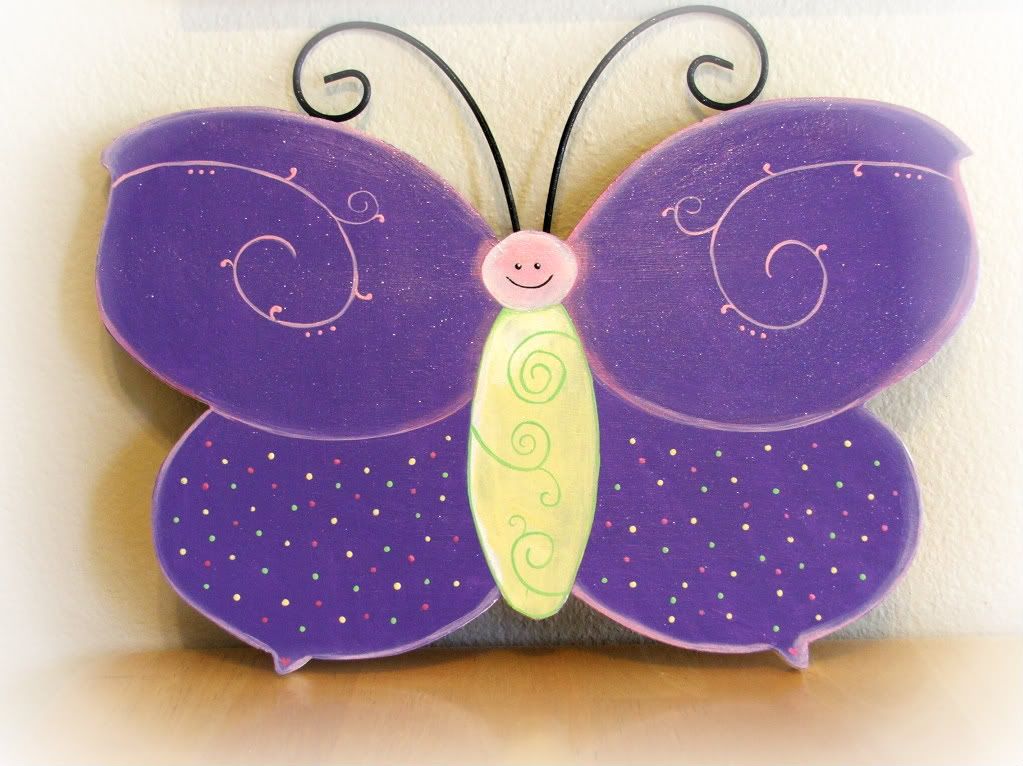
I have noticed a-lot of sadness in the world lately,so I wanted to bring you some sunshine!  My husband was reading Bonjour Butterfly the other day to my baby girl, it was so cute that I wanted to dedicate this post to my little butterflies. I hope it they lift your spirits.
I  bought all these butterflies at Joannes about 4 years ago,but they were plain wood and they said home sweet home. Boring! So I spruced them up a bit.


I painted all the butterflies above. The butterflies in the next few pictures were done with decoupage medium along with scrap book paper and googly eyes.


Now how is this going to lift your spirits? Well stay tuned and in the next couple of days I will announce my Bonjour Butterfly giveaway! Which ones do you like more? Paper or paint?

Saturday, March 19, 2011

Mrs feilds molasses raison cookies

   I am tired today. I helped with my friends yard sale and I have come to the conclusion that I love to go to yard sales,but I don't like to be the one selling .I would really like to do is eat cookies! These are some of my favs!
~~~Molasses Raisin Cookies~~~
Yield: 4 dozen

3 1/4 cups all-purpose flour
1 tsp. baking soda
1/4 tsp. salt
2 tsp. ground cinnamon
1 tsp. ground ginger
1/2 tsp. allspice
1 cup dark brown sugar, packed
1 cup salted butter, softened
3/4 cup unsulfered molasses
1 large egg
1 1/2 cups (6 oz.) raisins

Icing:
1 cup confectioners' sugar
2 Tbsp. milk

Preheat oven to 300°F.
In a medium bowl combine flour, soda, salt, cinnamon, ginger and allspice. Mix well with a wire whisk and set aside.
In a large bowl beat sugar and butter with an electric mixer at medium speed until mixture forms a grainy paste. Scrape sides of bowl, then add molasses and egg. Beat until light and fluffy.
Add the flour mixture and raisins, and blend at low speed just until combined. Do not overmix.
Divide dough in half and shape each half into a roll 1 1/2 inches in diameter. Wrap rolls in waxed paper and refrigerate until firm, about 2 hours. (I put them in freezer to speed it up.)
Slice cookies 1/2-inch thick and place on ungreased cookie sheets, 1 1/2 inches apart. Bake for 25-27 minutes until cookies are set. Immediately transfer cookies with a spatula to a cool surface.
To prepare the icing: Blend sugar and milk in a small bowl until smooth. Using a small spoon or knife, drizzle cookies with icing.
( I make double the frosting and I don't frost them until they are a little cooled)

Thursday, March 17, 2011

Cottage hill giveaway

Oh my goodness,you have got to see this giveaway!  Cottage hill is giving a lucky winner this lamp. I totally want it, I am drooling. Go take a look http://lindycottagehill.blogspot.com/2011/03/100th-post-giveaway.html

Wednesday, March 16, 2011

Easy blanket tutorial


I am sure many of you have made these blankets before,but I am doing this tutorial for those that are just starting off in the sewing world. These little blankets are really nice and they will give you a little confidence  to try new sewing projects in the future.                       lets get started

Materials list
2 pieces flannel fabric (for baby blanket 1yard of each print) (for kids blanket 1 1/2 yard of each)
Thread
scissors
cutting mat
Rotary cutter

# Fold one piece fabric in half with salvages matching.
Cut a strait line on each side side of fabric

Cut off salvage if it has a label on it like mine. (The salvage is the side that they didn't cut at the fabric store)
Repeat the step with you next piece.
Now sandwich your two pieces together with the print sides facing each other.
If there is a little fabric sticking out the side, just cut along the strait line.

( My baby was not next to me when I cut this)
Now that all your sides are trimmed,start pinning the two pieces together. (Make sure to do this right after you have lined them up,do not lift the fabric until they are pinned.)
Now sew the two pieces together. Sew around all four edges,but leave a gap open one side.

I went in about half an inch. Even though you have pinned your fabric,it will still tend to wander,so keep the fabric together with your fingers.
After you have sew all you pieces you will need to trim the raw edges.
I left the edges around my open a little wider.

I then ironed the opening edges on both top and bottom.
After you have ironed your gap ,turn the blanket inside out. Now you will sew all around the outside edges.
Now it's time to iron around all the edges ,before you do you last bit of sewing.
Try to sew as close to the edge as you can.
Your done!

Here it is! I usually do just a solid piece of fabric on the top,but we didn't have enough fabric for the top so my son picked out some scrap pieces I had.
Yours may look more like one of these. The bottom blanket in this photo was sew with a serger ,but if you sew it that way it will separate later. I don't recommend it.
Please let me know if you have any questions.

Tuesday, March 15, 2011

Towels for a busy bee.

I wanted to share these pictures with you of some dish towels I made for my mother in law. I got the idea from the book "Sew Darn cute". I love this book! My mother in law is such a wonderful person and she is always doing things for others, so I thought that the little bees would be perfect for her. She is a busy bee! These are great towels that you can make for any holiday and they can be pretty cheap to make. They are a little time consuming though if you make the binding to go all around the towel.
Here is the book I have. I am planning on making many projects from here.
 I am also linking into today to Terrific under 10 Tuesday http://athomewithk.blogspot.com/2011/03/terrific-under-ten-tuesday-5.html. and Nifty thrifty Tuesdays http://linda-coastalcharm.blogspot.com/2011/03/nifty-thrifty-tuesdays-no54-and.html so fun!Come join us.

Wednesday, March 9, 2011

Downeast outfitters

This is not an advertisement I just wanted to share with you a cool website that has some cool stuff. I just bought these little boxwood balls and I am excited!


I think they cost a total of $12 before shipping.Not bad! They have some other cute things for a pretty good price as well. They also have clothing,I told my friend about this website because she wanted to know where I got my jeans,well here it is. But I always buy the ones on clearance if I can.
                                ( This is not my bum, you wouldn't want to see a close up of that :)
So here is the linkhttp://www.downeastoutfitters.com/ and here is their blog which is really nice too!
http://downeasthomeblog.com/
I love finding cool places online. Let me know if you have any favorite stores.

Tuesday, March 8, 2011

From brass to class

Here I am again with another project! I saw this idea when I was visiting http://fancyfrugallife.blogspot.com/2011/02/tiffany-co-inspired-hutch.html. I love her blog! In fact I am probably irritating her with all my comments and trying out her projects.;) She had made the prettiest display by spray painting old plates and objects white. I thought this was a great idea,so I tried it out!
I love silver, but this little set was brass and falling apart. I figured if I didn't like it,I could just get rid of it. I like it I think. Keep in mind my camera is not super duper.
Before


After


If you are interested in doing this,here are some of the supplies I used. I did apply a clear high gloss spray for the finishing touch. I just do not have a picture of it.

Here is my set of real cream ware.
                                  I have got to run,it is clean up before the hubby comes home time.


Friday, March 4, 2011

Wow I was featured!

My family growth chart was featured today and I am so excited! Thanks craft couture!
http://dominiquescraftcouture.blogspot.com/2011/03/feature-friday-check-out-these-ladies.html

Tuesday, March 1, 2011

My kitchen needs help!

At lowes the other day I came across something that I thought was fabuloso! Rustoleum has this cabinet and counter paint that looks awesome! Not only that, it is an inexpensive way to redo my kitchen woo hoo! The thing I like about it is that there is no stripping or heavy sanding involved. We are planning on trying it out on our kitchen this year. I just don't know what color to choose! If you are reading this and you have some time. Let me know what color you think would be good. Here is my kitchen now


We also want to paint the counters. To see all the color selections,go to http://rustoleumtransformations.com/
Thanks